25+ Crochet Halloween Patterns You’ll Love to Make This Spooky Season
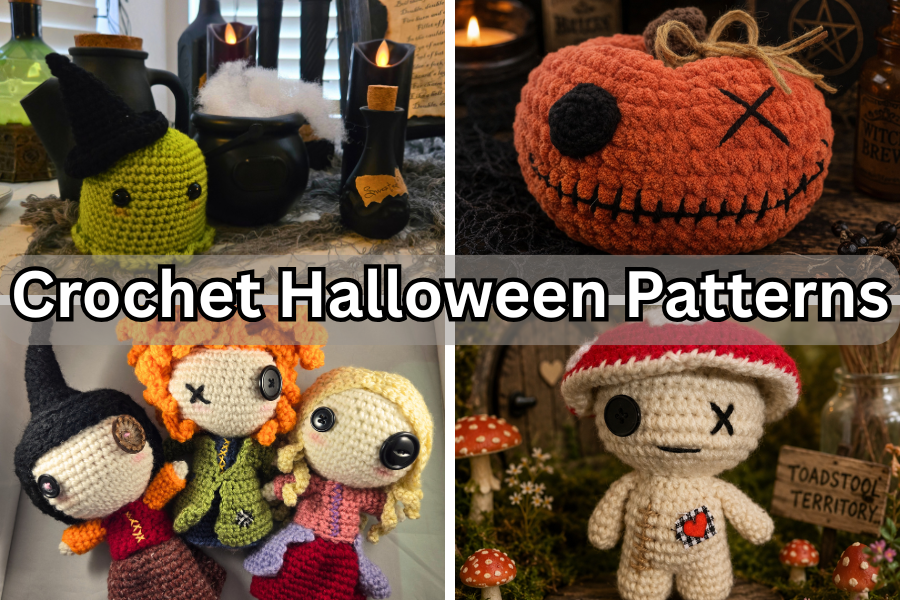
25+ Crochet Halloween Patterns You’ll Love This Spooky Season
If you’re searching for the best crochet Halloween patterns, you’ve come to the right place! Whether you’re decorating your home for spooky season, creating handmade gifts, or stocking your fall craft market booth, Halloween is one of the most exciting times of year for crocheters.
This roundup features a mix of free crochet Halloween patterns and premium PDF designs from talented crochet designers. From adorable ghosts and cuddly pumpkins to spooky witches, bats, black cats, and eerie home decor, there’s something here for every skill level.
So grab your favorite orange, black, purple, and green yarn, pour yourself a pumpkin spice latte, and let’s dive into these hauntingly adorable crochet projects!
Why You’ll Love These Crochet Halloween Patterns
Halloween crochet projects are perfect because they’re:
- Quick weekend projects
- Great stash busters
- Fun gifts for friends and family
- Perfect for Halloween markets
- Ideal for decorating your home
- Cute additions to shelves
- Great for beginner and experienced crocheters alike
Whether you enjoy spooky, creepy, whimsical, or downright adorable designs, these Halloween crochet patterns are sure to inspire your next project.
What You’ll Find in This Collection
This roundup includes a variety of Halloween favorites, including:
🎃 Crochet pumpkins
👻 Friendly ghosts
🧙♀️ Witch dolls
🦇 Bats
🕷️ Spiders
🐈⬛ Black cats
💀 Skeletons
✨ Magical decor
… and more!
Featured Crochet Halloween Patterns
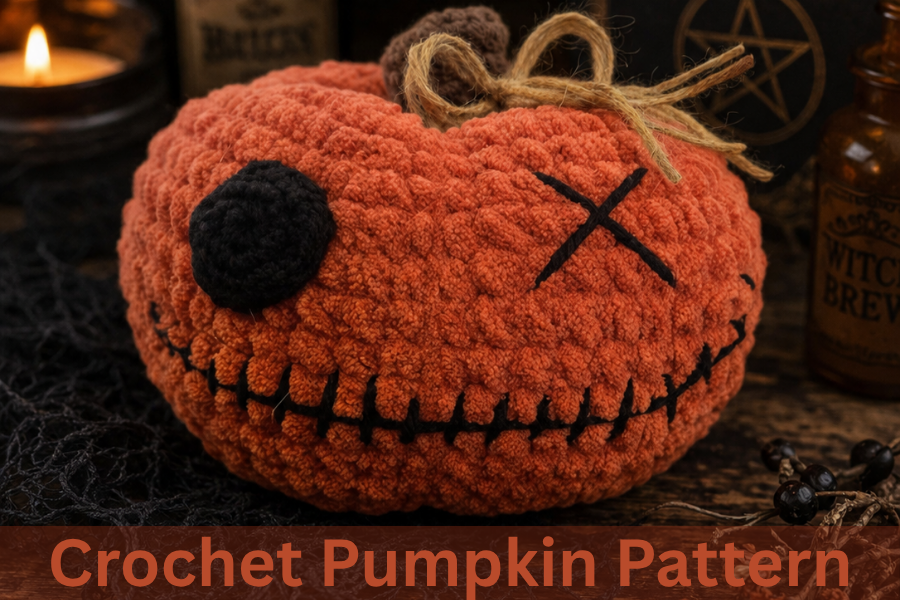
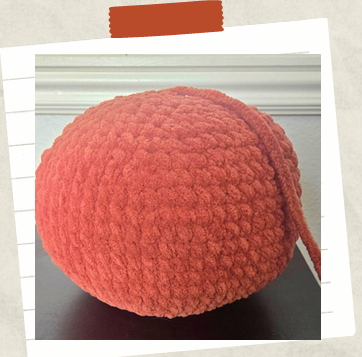
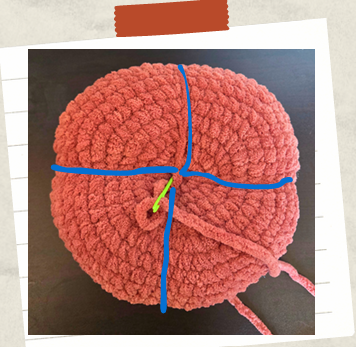
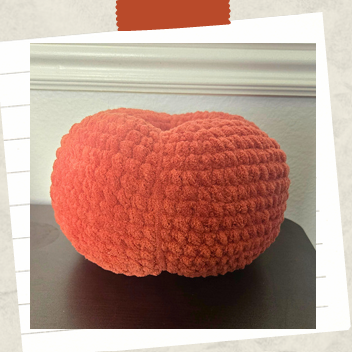
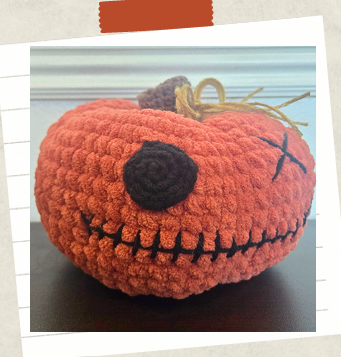
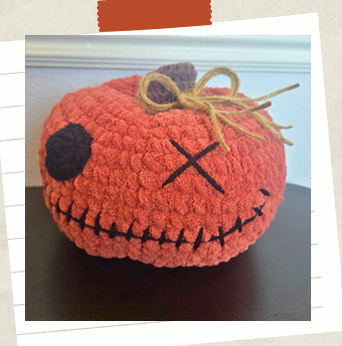
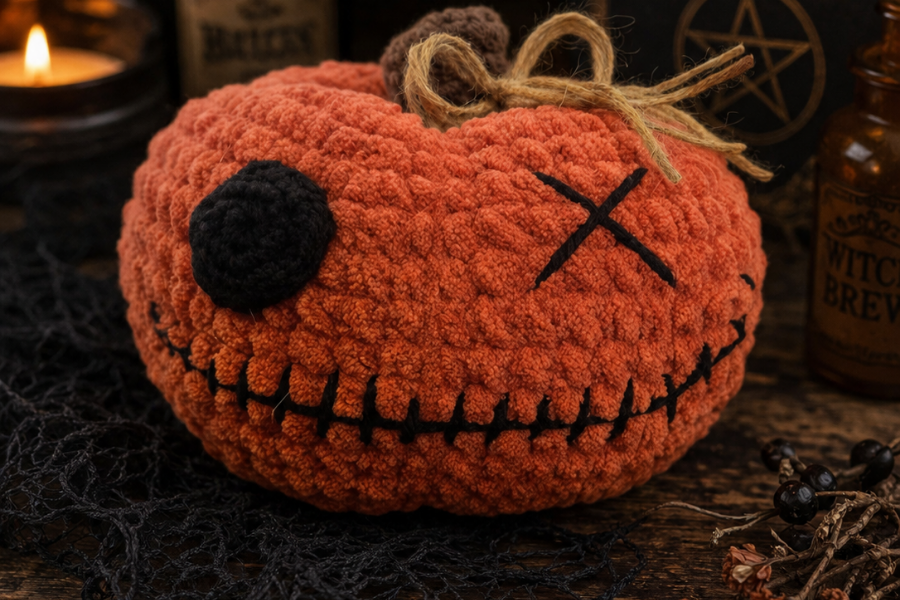
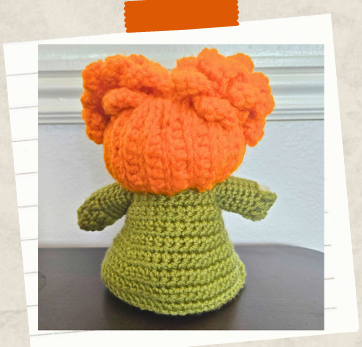
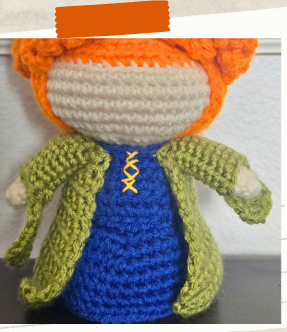
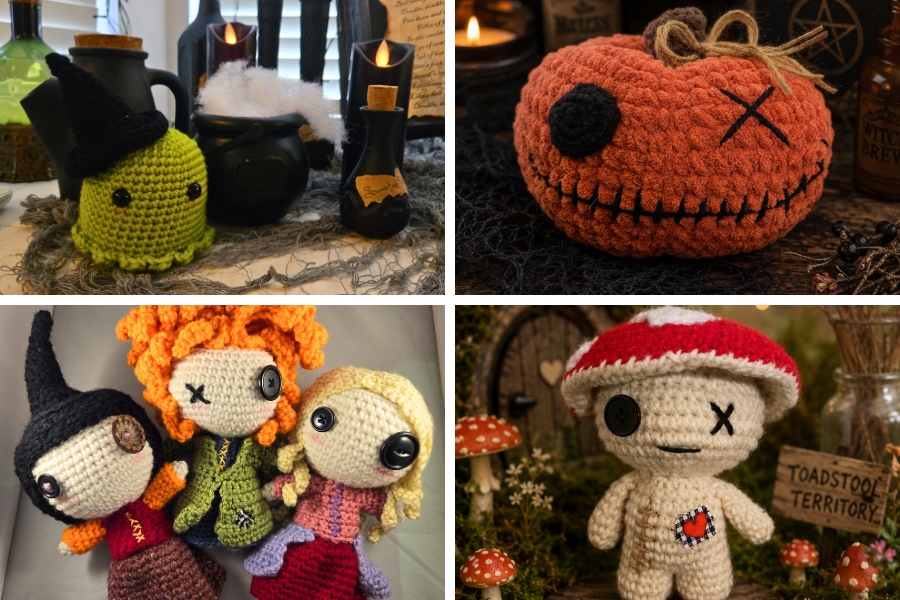
1. Plush Voodoo Pumpkin Crochet Pattern (Free)
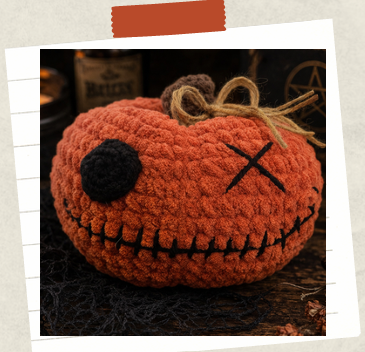
Skill Level: Beginner
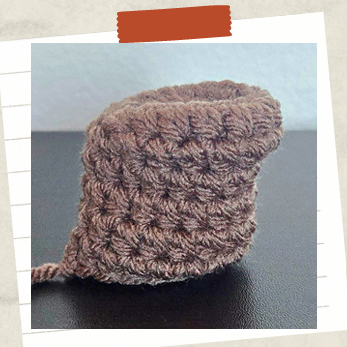
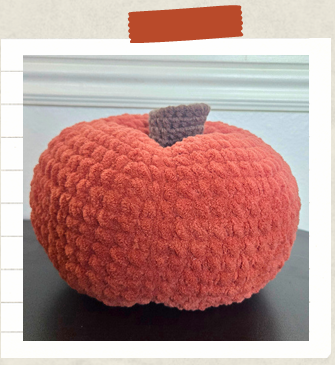
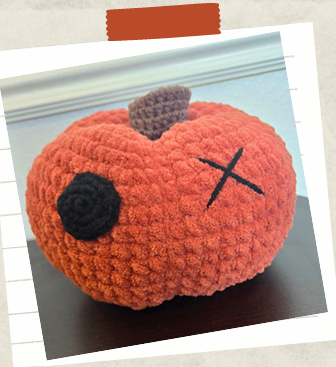
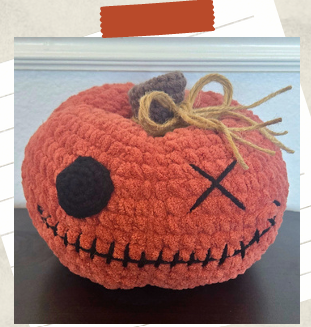
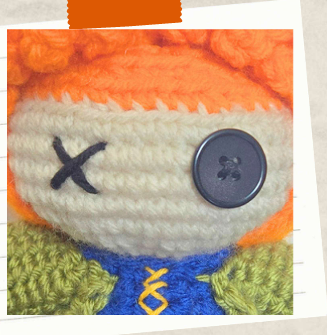
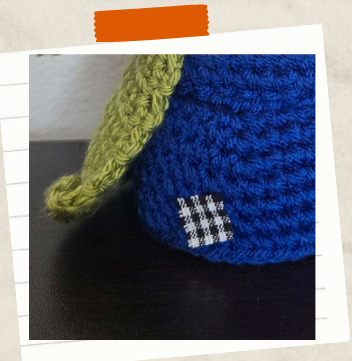
This delightfully spooky pumpkin combines adorable and eerie into one cuddly Halloween decoration. Featuring a stitched smile, button eye, and plush velvet yarn, this pumpkin makes a fantastic shelf sitter or seasonal decor piece.
Perfect for:
- Halloween decorating
- Fall displays
- Pumpkin lovers
- Handmade gifts
Click here for the free pattern!
2. Crochet Jack-O-Lantern Pumpkin Stack (Free)
This Jack-O-Lantern Pumpkin Stack by MJ’s Off the Hook Designs is the perfect addition to any Halloween porch decoration! I absolutely adore the classic Halloween grins adorning their faces and the whimsical witch hat on top. I also love that this pattern includes a video tutorial as well, making it perfect for beginner crocheters.
Click here for the free pattern!
3. Pumpkin Amigurumi (Free)
This cute and tiny Pumpkin Amigurumi by Stringy Ding Ding is just so dang adorable I could die. That tiny Kawaii style face on the vibrant orange body, complete with a curly green stem just screams cutesy Halloween!
4. Crochet Halloween Ghost (Free & Paid)
No Halloween crochet roundup is complete without an adorable plushy ghost! This free crochet pattern bundle shows you how to create four different styles of ghosts: classic, witchy, zombie, and candy corn styles! Super easy, super quick, and super cute for spooky season!
Click here for the free pattern.
5. Crochet Ghost With Pumpkin Hat Keychain (Free)
This adorable ghost and pumpkin keychain by My Crafty Basket is the perfect mini Halloween addition to anything you want to add a tiny accessory to! Adorn your bags, backpacks, car rearview mirrors, keys, etc. with this festive and spooky cute keychain!
Click here for the free pattern!
6. Ghostly Garland (Free)
The Ghostly Garland by Stitches n Scraps is to die for (pun intended)! The simple but beautiful construction of the granny square bodies adds such a delicate and classic crochet touch to this decoration. This garland would look adorable hanging across an entryway, a window, or lining a banister!
Click here for the free pattern.
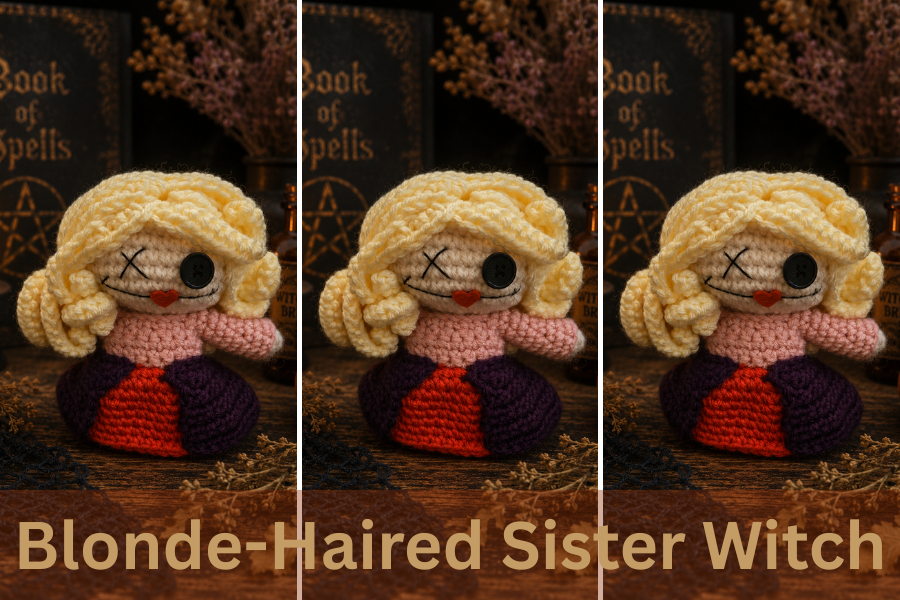
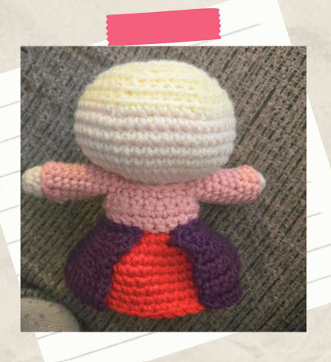
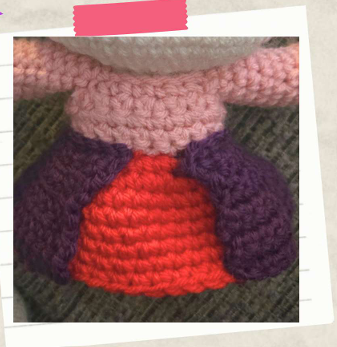
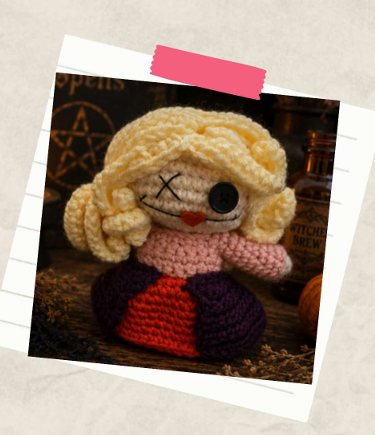
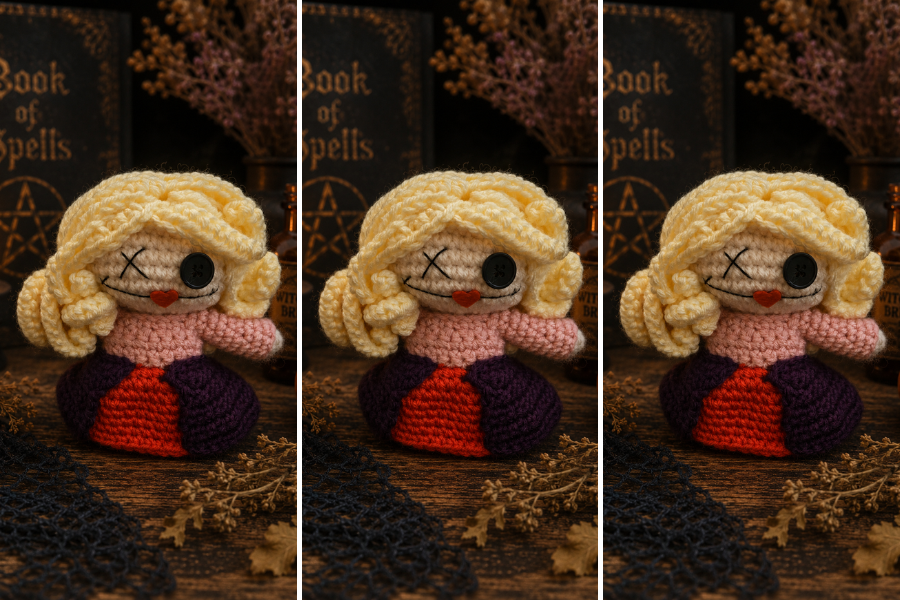
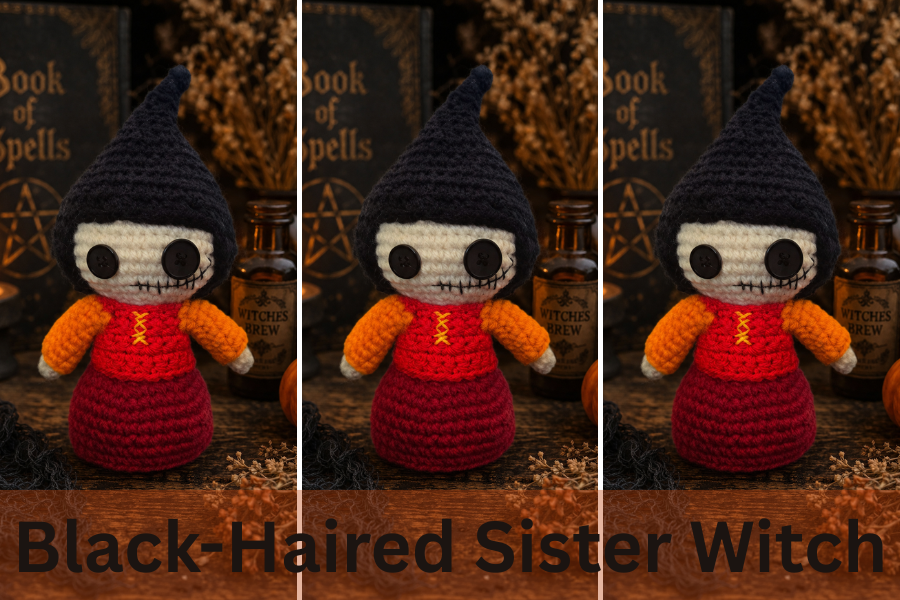
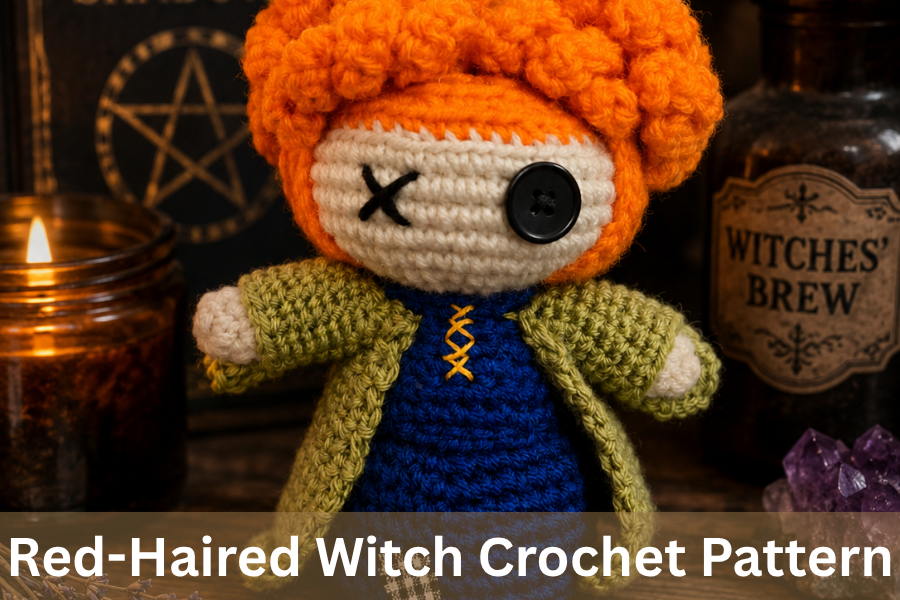
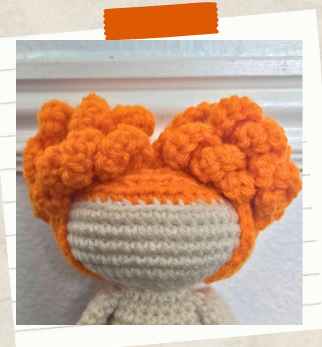
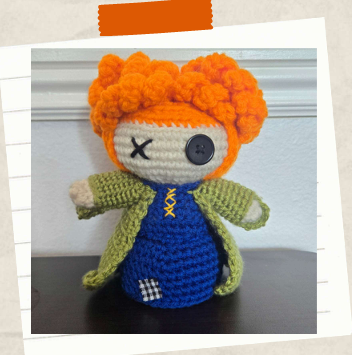
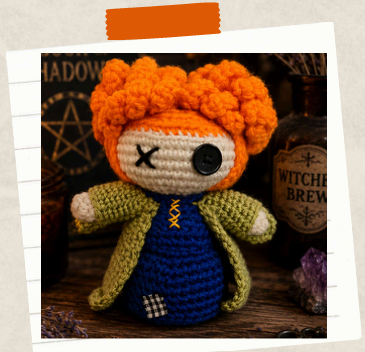
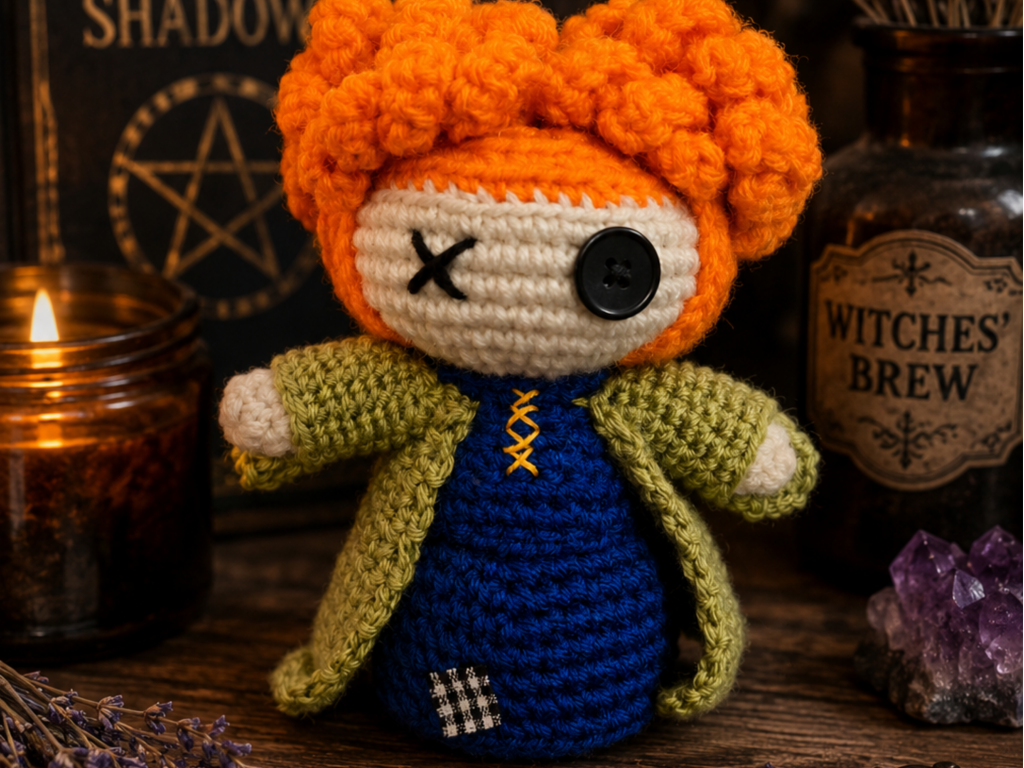
7. Hocus Pocus Inspired Sanderson Sisters Trio (Free)
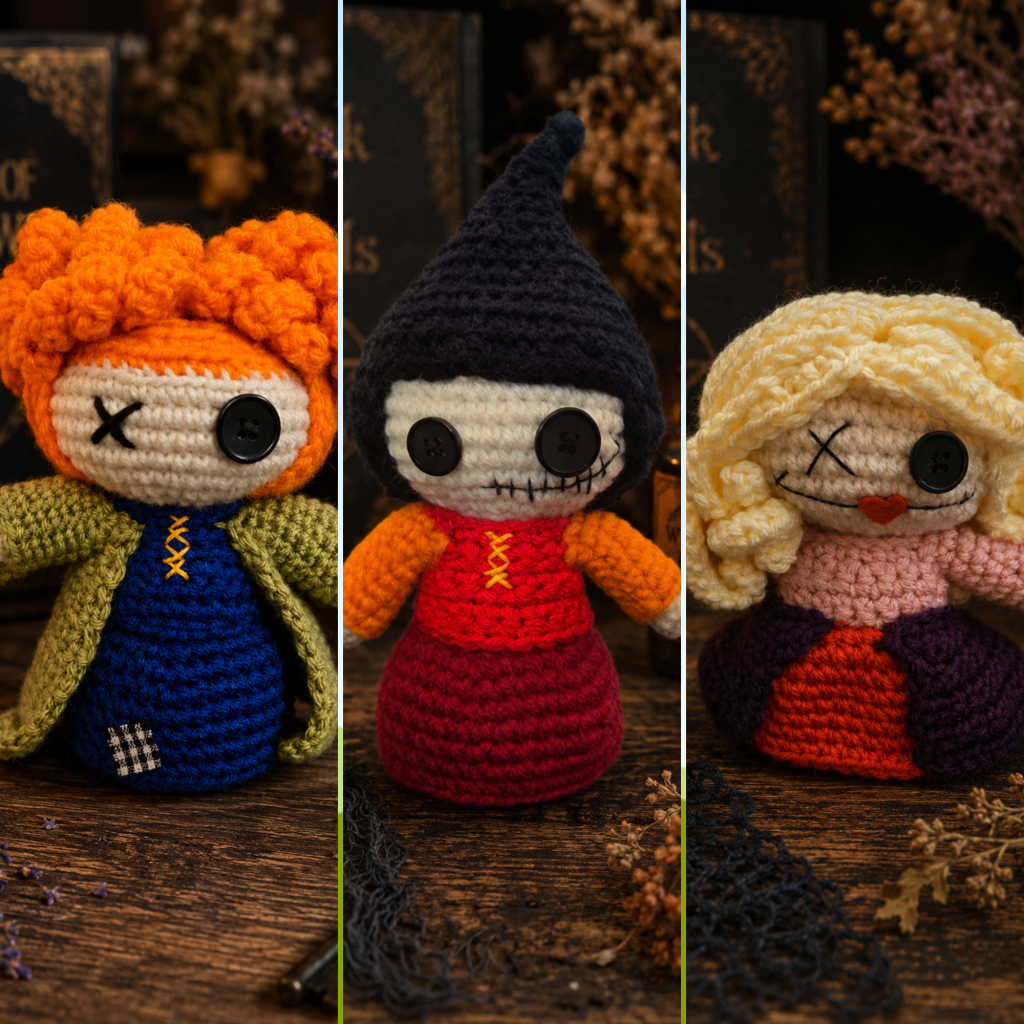
One of my favorite Halloween movies of all time is Hocus Pocus. I watch it every year, no joke! So, I knew I had to create some spooky dolls to honor the legendary witch sisters! It’s also become something of a tradition for me to crochet these iconic ladies every year while I watch the movie on repeat. You can find free patterns for all three of them below!
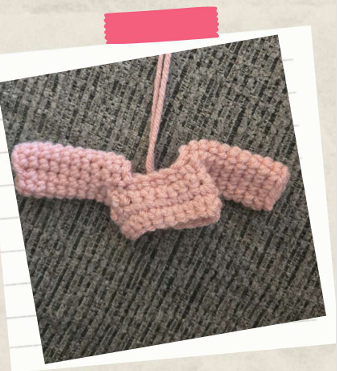
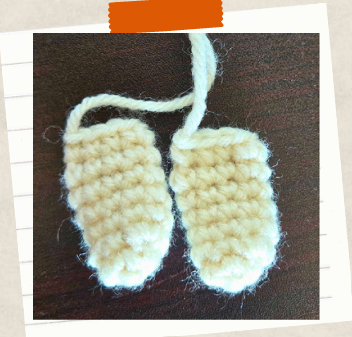
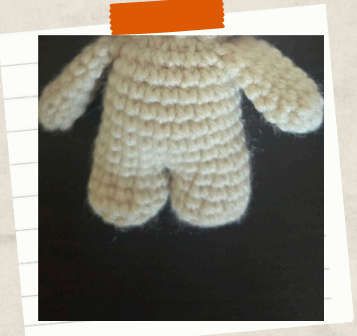
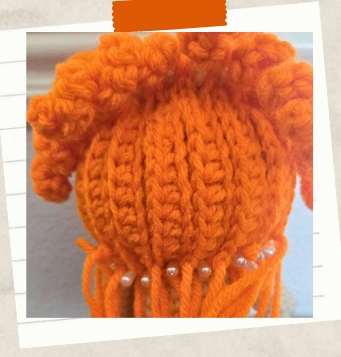
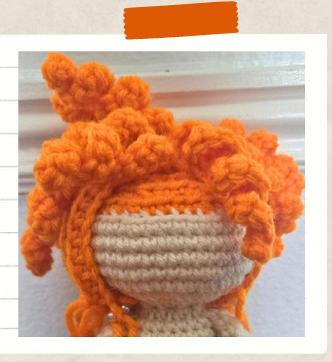
The Flame-Haired Enchantress: Free Red-Haired Witch Crochet Pattern
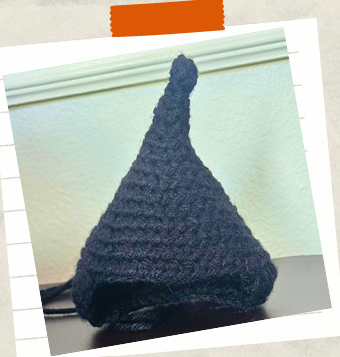
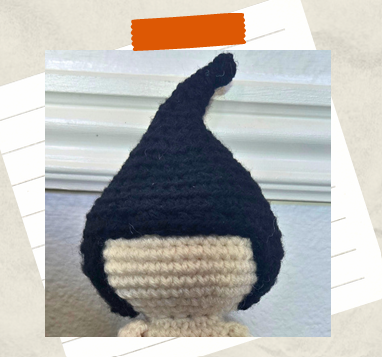
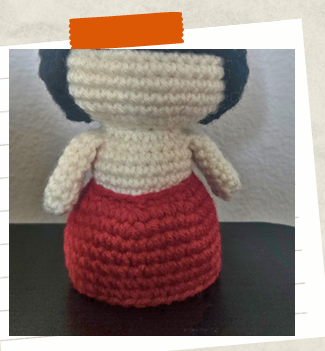
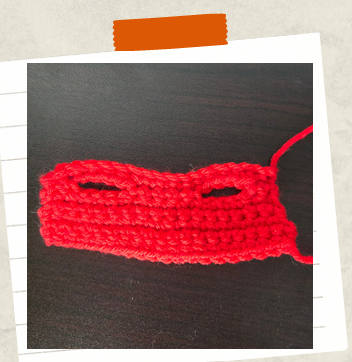
Free Black-Haired Witch Crochet Pattern (Perfect for Halloween!)
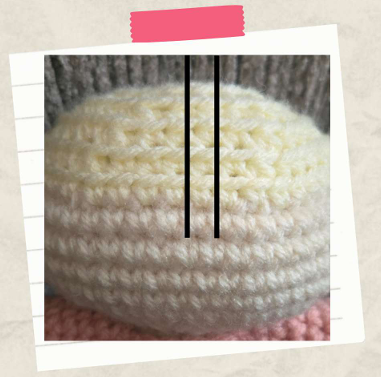
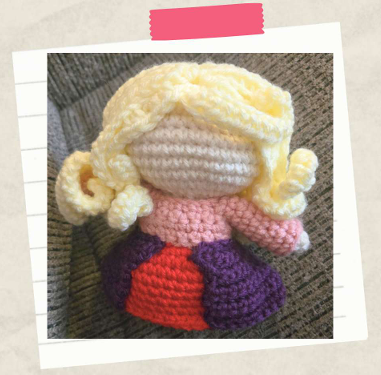
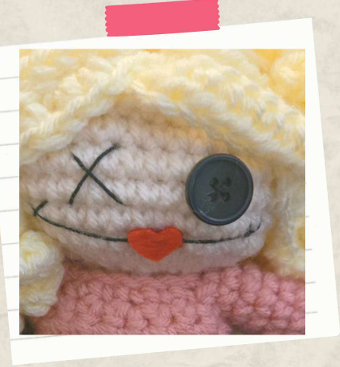
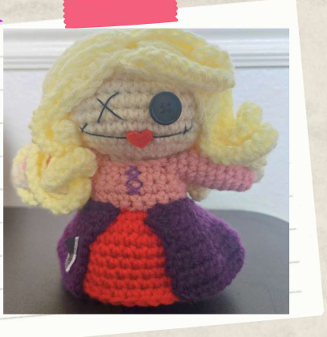
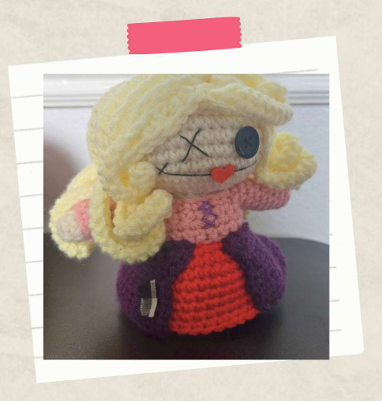
Free Blonde-Haired Sister Witch Crochet Pattern (Hocus Pocus Inspired)
8. Witch Hat Bookmark (Free)
I don’t know about you, but I love to do everything seasonally. I love to create a cozy atmosphere around whatever the current season is. That means I also like to read books that are seasonally themed! Imagine curling up with a spooky mystery on a chilly October evening, complete with this beautiful Crochet Witch Hat Bookmark by DIY Crafts.
Click here for the free pattern!
9. Witch Hat (Paid)
This crochet Witch Hat by The Yarn Crew reminds me of a similar one I purchased at a Halloween farmer’s market years ago. It’s one of my favorite accessories for spooky season, and I love to wear it around! I’d love it even more if it was handmade by me, so I knew I had to include this hat in the roundup!
Click here to purchase the PDF pattern!
10. Halloween Bat (Free)
This Amigurumi Little Bat by How to Makes is so adorable! I love those tiny wings and that cute little happy smile. This little guy would make a perfect addition to a cute and fun Halloween display.
Click here for the free pattern!
11. Crochet Bat Storage Caddy
I love any crochet pattern that creates a cute amigurumi that doubles as a storage compartment! This Crochet Storage Bat by Teje con Ilusion is the perfect Halloween home decor addition!
12. Halloween Bat (Free)
There’s nothing better than soft, fluffy, plushy amigurumi! These Halloween Bats by Yarns Patterns are quick to make, easy to assemble, and the perfect, snuggly addition to any home.
Click here for the free pattern!
13. Spider Web Garland (Free)
I absolutely adore this beautiful Spider Web Garland by Urbaki Crochet! I think this would be so enchanting lining a window and adorned with soft twinkle lights! Or maybe some of that stretchy faux spider webbing? The possibilities for decorating with this simply delicate garland are endless.
Click here for the free pattern!
14. No Sew Spider (Paid)
Embrace the creepy crawlies of spooky season with this fun, easy, and plushy No-Sew Spider by Crafty W. Kingdom! I love any pattern that is no-sew, as I’m sure many crocheters out there will agree with!
Click here to purchase the PDF download!
15. Halloween Spider Web (Free)
I absolutely love this Crochet Spider Web by Deb D’Zio! It’s so beautiful, delicate, and lacy — like a giant doily! But draped somewhere in the house or sprawled across a mantle or table, this beautiful spider web will make an enchanting addition to your home for Halloween.
Click here to find the free pattern!
16. Black Cat Plushie (Paid)
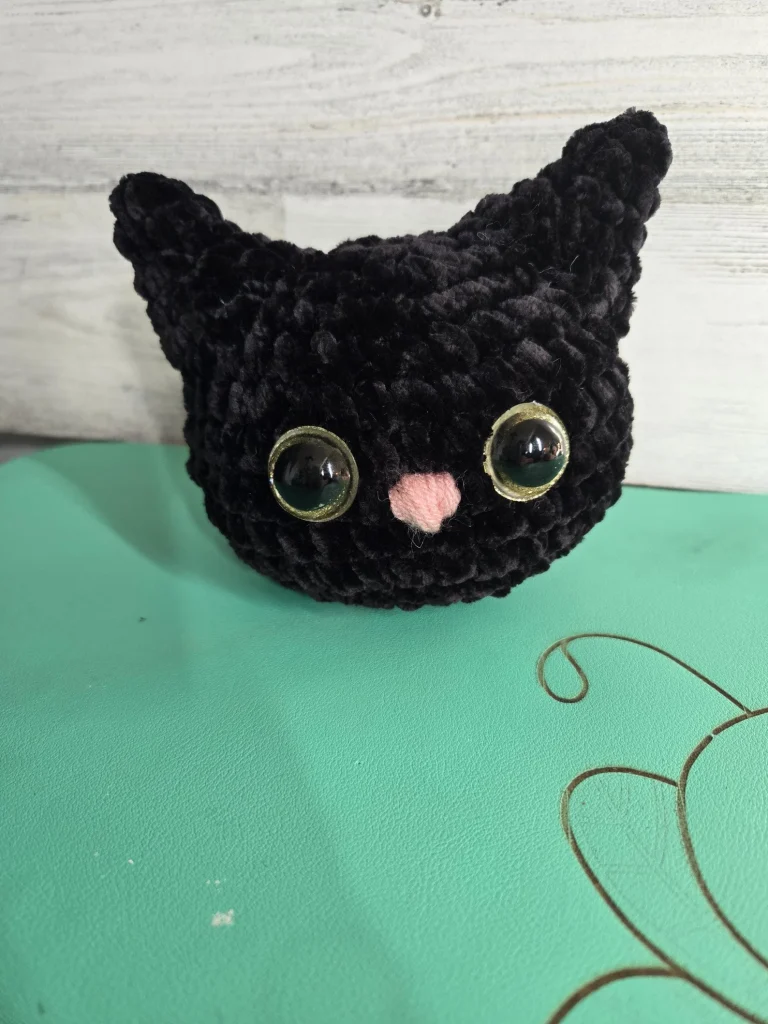
This cute black cat plushie is still one of my favorites I’ve designed. With just a chunky head and tail, it’s basically a ball shaped like a cat’s head. And I love it! This one works up so quickly and is a HIT at markets! Seriously, I had a few of them and they were the first things to go. I definitely recommend giving this one a try to add to your market stalls.
Click here to purchase the PDF download!
17. Halloween Black Cat (Free)
As soon as I saw this Crochet Halloween Black Cat by Amigurumi Space, I knew I had to include it in this roundup. Look at how adorable that tiny witch hat is! This is such a fun and creative spin on a classic black cat pattern, and it’s a perfect addition to any home for spooky season!
Click here for the free pattern!
18. Gothic Black Cat (Paid)
Now, this Gothic Black Cat by QZ Loops Studio is right up my alley with the adorable gothic/voodoo style. I can’t get enough of it! I love the addition of the rhinestone details. It just adds such a cute touch to this spooky critter.
Click here to purchase the PDF download!
19. Jack Skellington (Paid)
Another movie I like to watch every year around Halloween is The Nightmare Before Christmas! It’s such a classic, and no Halloween is complete without the Pumpkin King! This Jack Skellington crochet pattern by StitchesHandmadeMX would make a to-die-for (pun intended) Halloween pattern for your stash! And bonus? It includes the Sally pattern as well!
Click here to purchase the PDF download!
20. Sugar Skull Snail (Paid)
Sugar skulls are some of the coolest things! I love the creativity of crocheting a sugar skull as the shell of a cute snail, and this Sugar Skull Snail Crochet Pattern by Super Handmade Craft is to die for. How adorable would this be to adorn a mantle or shelf for Halloween?
Click here to purchase the PDF pattern!
21. Bones Baby Dino (Paid)
How cool is this Bones Baby Dino Amigurumi by Studio Elegant Designs? I can’t get over the uniqueness of the design, and the skeleton aesthetic makes it perfect for Halloween! Why not cuddle up with your hook one night and give this one a go?
Click here to purchase the PDF download!
22. There’s a Witch Stuck in My Wreath! (Free)
As soon as I saw this There’s a Witch Stuck in My Wreath pattern by Stringy Ding Ding, I was in love! This crochet pattern mixes the perfect amount of crochet whimsy and cute crafty touches. I personally can’t wait to get my hook out and start making this one!
Race you to the free pattern here!
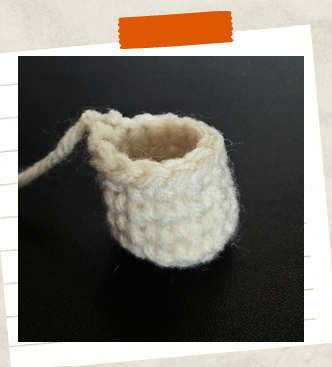
23. Crochet Mini Cauldron (Free)
This Crochet Mini Cauldron by Craftorator would make such a cute Halloween decoration in any home! I love how it makes the perfect candy holder for giving out candy to the trick-or-treaters. On another note, does anyone else not get any trick-or-treaters since Covid? Either way, this little cauldron is sure to be a conversation starter in your home this spooky season!
Click here for the free pattern!
24. Halloween Spiral Mobile (Paid)
Oh, my lanta! These Halloween spiral mobiles are such a creative, adorable way to decorate for Halloween! Imagine having these hanging from a porch or in a window? I love the intricate beading details they have as well. Truly beautiful! This crochet pattern by Emma Pixels Studio is sure to be a huge hit!
Click here to purchase the PDF download.
25. Coraline Plushy (Paid)
I adore Coraline! It’s another Halloween movie I watch every year! I love the creepy, cute aesthetic, and this Coraline Doll Crochet Pattern by Blue Marmalade Crochet would be such a fun project to crochet while watching the film. Beware the Other Mother and snuggle down with your hooks and plush yarn to bring this little doll to life!
Click here to purchase the PDF pattern!
26. Mesmer Witch Hat (Paid)
How freakin’ cool is this Mesmer Witch Hat by Whymsi Row? I think this one absolutely must make its addition in my witch hat collection! Anything with black and white stripes just steals my heart, but the whimsical curly shape of this one adds such a Burtonesque beauty. I cannot get enough!
Click here to purchase the PDF download!
27. Zombie Bee
Any crochet pattern that spookifies traditional crochet patterns just melt my heart, so I knew I had to include this Zom-Bee by Amigurumi Cat in this roundup! Just look at its adorable green face and whimsical stitches! I love it. Best of all, this pattern is free!
Click here to find the free pattern.
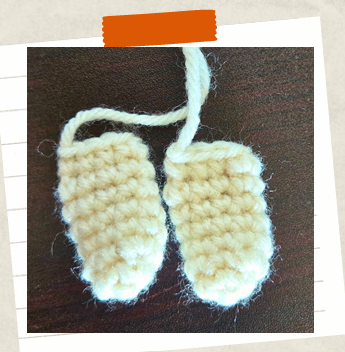
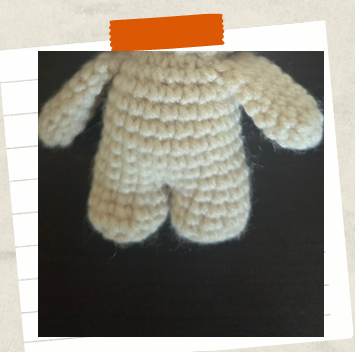
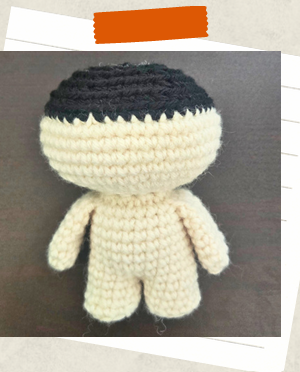
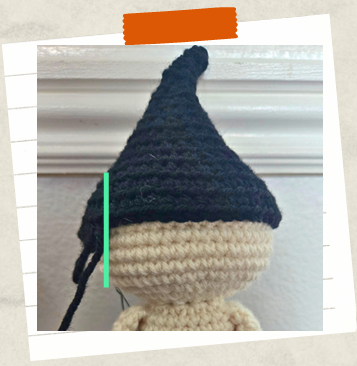
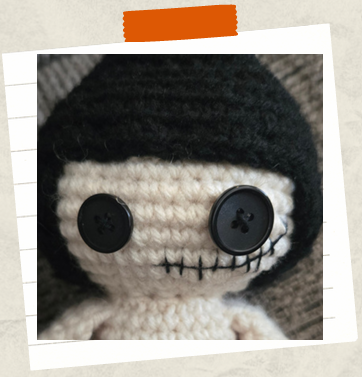
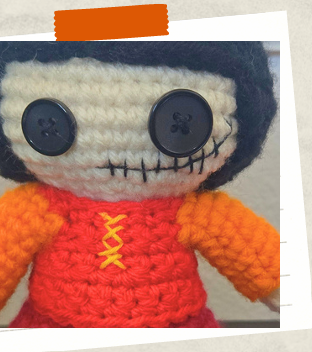
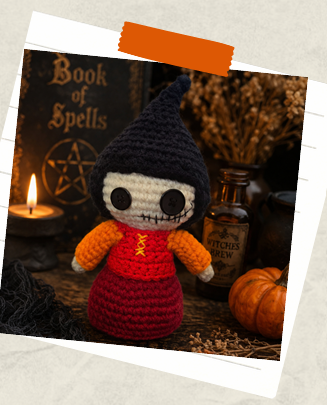
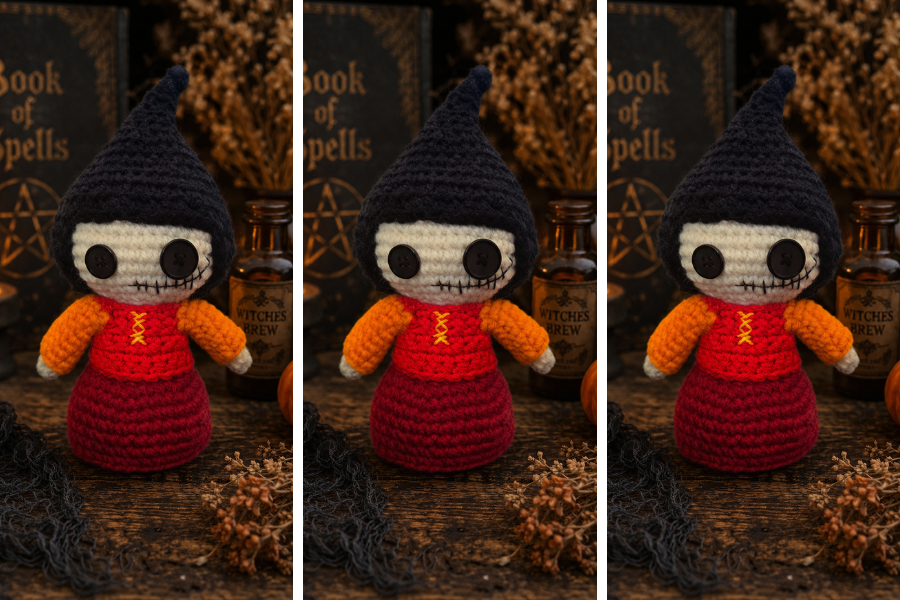
28. Voodoo Doll (Free)

It wouldn’t be a Halloween pattern roundup without including a voodoo doll crochet pattern! This little guy works up super quickly and is perfect for using up scrap yarn. In fact, the more color changes you can make, the better! It gives him such a fun and patchwork style. You can also create a plush version of this little guy by using plush yarn and a bigger hook. Endless possibilities await!
Click here for the free pattern.
Related Posts:
If you liked this post and want some more Halloween crochet inspiration, click the links below to view even more Halloween crochet patterns!
Cozy Up With These 13 Stunning Fall Crochet Patterns
Spooktacular Stitches: 20 Free Crochet Halloween Decorations!
And that concludes our Halloween crochet patterns roundup! I hope you found some inspiration for your next project. Which one will you make first? Share below!
And stay cozy,
This post featured a pattern roundup for crochet Halloween patterns.
25+ Crochet Halloween Patterns You’ll Love to Make This Spooky Season Read Post »