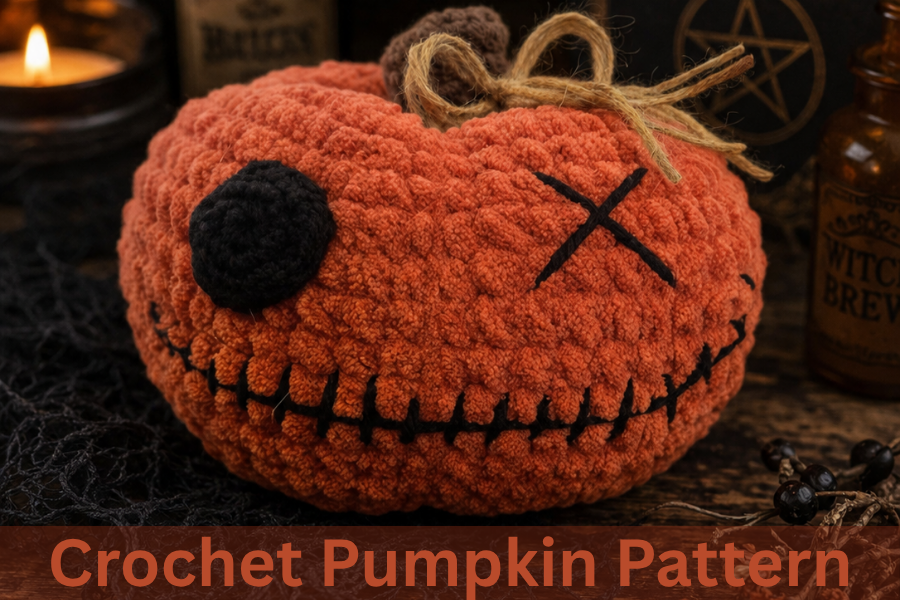
Free Black-Haired Witch Crochet Pattern (Perfect for Halloween!)
If you’re looking for the perfect Halloween crochet pattern, you’re in the right place! This adorable black-haired witch crochet pattern combines spooky charm with whimsical poppet-inspired details to create the classic witch that’s equal parts magical and mischievous.
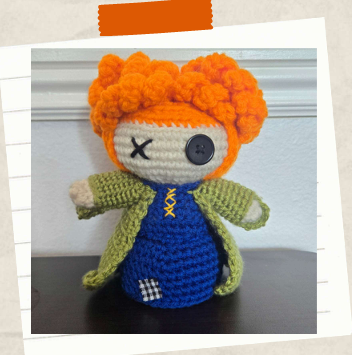
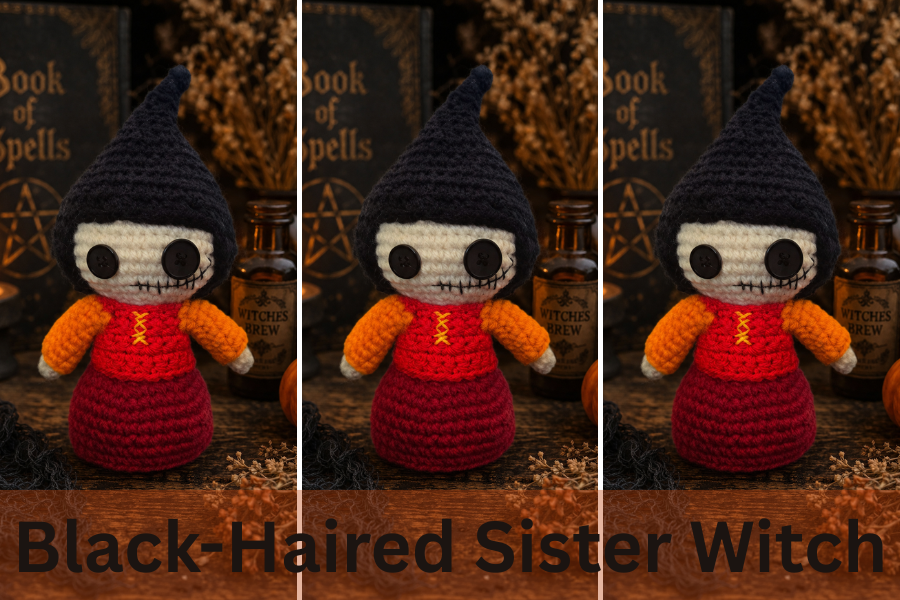
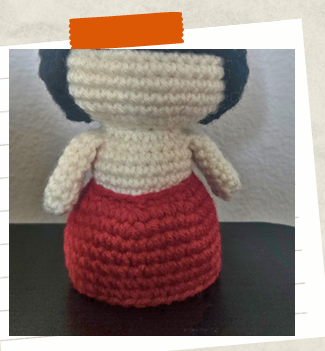
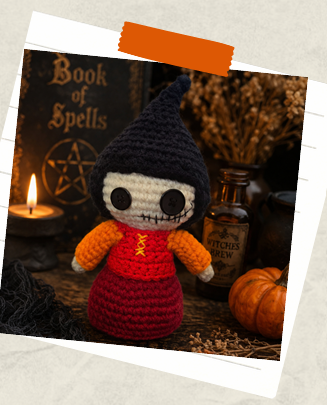
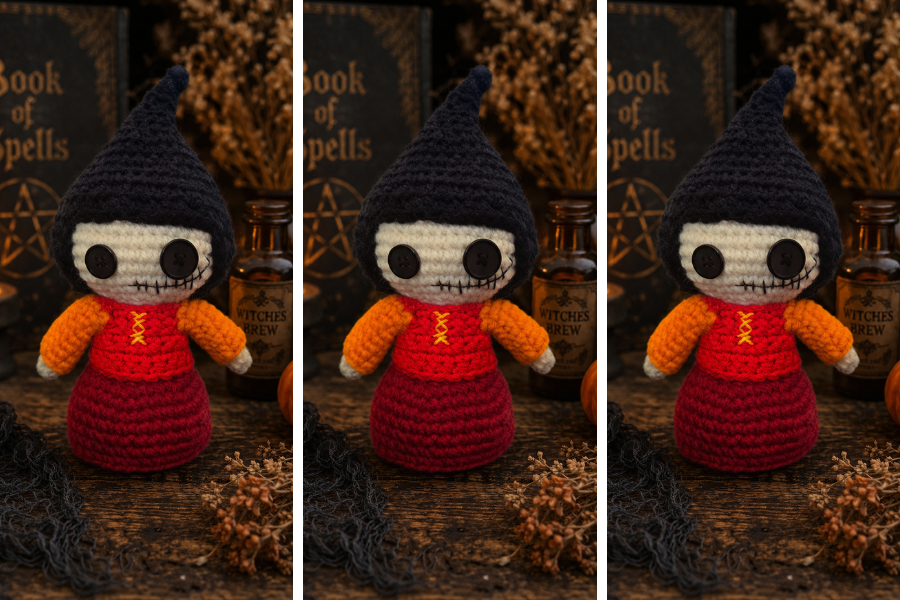
Featuring her iconic pointy hairdo, button eyes, stitched smile, and cozy autumn colors, this sassy witch amigurumi pattern is a fun project for Halloween decorating, craft fairs, and handmade gifts.
Whether you’re building an entire witchy collection or simply want a unique seasonal project, this free crochet pattern is sure to become a favorite.
Why You’ll Love This Crochet Pattern
This witch poppet is:
- Beginner-friendly
- Quick to make
- Easy to customize
- Great for Halloween decor
- Perfect for witchy crochet lovers
- Adorable displayed alone or with her sisters
This simple design allows you to personalize your witch with different dress colors, hats, hairstyles, and accessories.
Meet the Black-Haired Witch Poppet
Legend tells of a mysterious witch who prefers moonlit forests to crowded villages. Wrapped in dark ruby robes and carrying ancient secrets beneath her piled-high hair, she is often spotted wandering among pumpkins and autumn leaves.
Unlike other witches, she doesn’t cast spells for power. Instead, she specializes in using her powerful nose to guide her.
Make the Ad-Free Version
Prefer to crochet offline?
The printable PDF version is available here on my Etsy!
Skill Level
Advanced Beginner
This pattern uses basic crochet stitches and simple shaping techniques. If you’re comfortable crocheting in the round, sewing pieces together, and embroidering simple stitches, you will have no trouble bringing this little witch to life.
Materials Needed
- 3.5 mm crochet hook- These Tulip crochet hooks are the best ones I’ve ever used!
- Worsted weight (#4) yarn in cream, black, maroon, red, and orange
- Two buttons of varying sizes
- Sewing needle
- Black embroidery thread
- Yellow embroidery thread
- Yarn needle
- Stitch marker
- Polyester fiberfill
- Scissors
Crochet Abbreviations
- MR- Magic Ring
- Inc- Increase
- Dec- Decrease
- Ch- Chain
- Sc- Single Crochet
- Dc- Double Crochet
- Hdc- Half Double Crochet
- St(s)- Stitch(es)
- Sl st- Slip Stich
- Rnd(s)- Round(s)
- BLO- Back Loop Only
- FLO- Front Loop Only
- FO- Fasten Off
*Please Note*
This pattern and these pictures are for personal use only. Please do not share, distribute, reproduce, publish, translate, alter, or resell this pattern in any way. You may sell the finished product, but please credit my design whenever possible.
Now, let’s drive right into the fun stuff!
Black-Haired Sister Witch Crochet Pattern
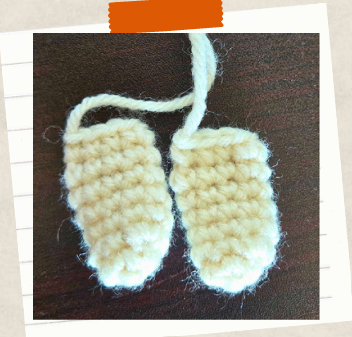
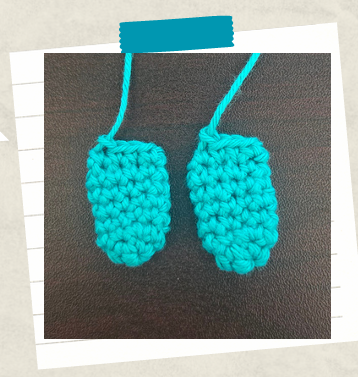
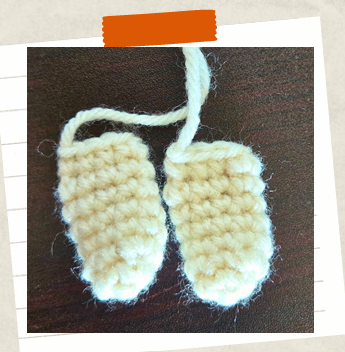
Arms (Make 2)
| With a 3.5 mm hook and worsted weight (#4) yarn in cream: | |
| 1. MR 6 | (6) |
| 2. 1 sc, inc x 3 | (9) |
| 3-7. Sc around | (9) |
| *Pinch closed, sc across the top to close. *FO. |
Black-Haired Witchy Poppet Fun Fact:
The orange-sleeved sister is famous for her extraordinary nose. Legend says she can smell freshly baked treats, hidden candy, and unattended pies from three villages away.
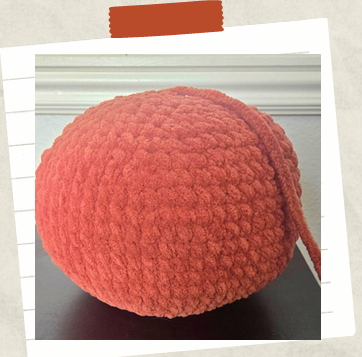
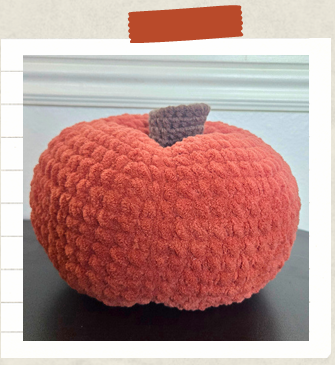
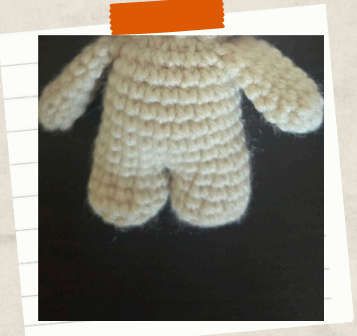
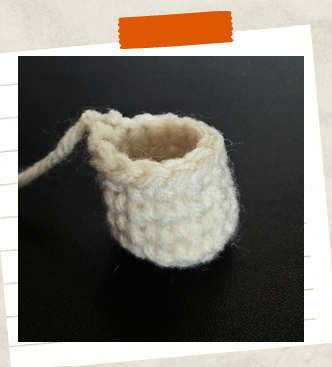
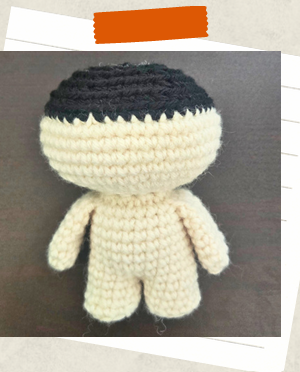
Legs and Body
| With a 3.5 mm hook and worsted weight (#4) yarn in cream: | |
| 1. MR 6 | (6) |
| 2. Inc x 6 | (12) |
| 3. BLO: Sc around | (12) |
| 4-6. Sc around *FO after the first leg. Do not fasten off after the 2nd leg, but continue below: | (12) |
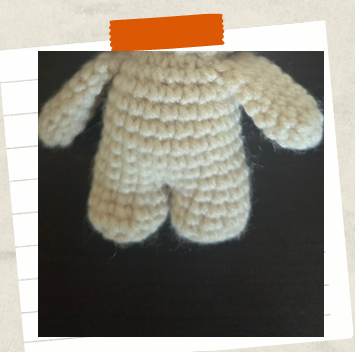
| 7. Join to 1st leg with a sc. 11 more sc around 1st leg. 12 sc around 2nd leg. | (24) |
| 8-13. Sc around *Start stuffing. Keep stuffing as you go. | (24) |
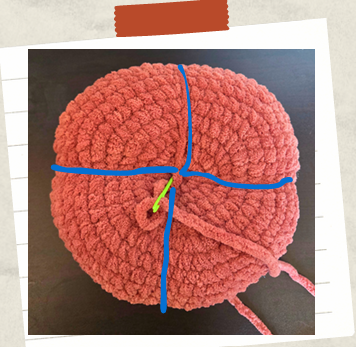
| In Rnd 14, we are going to attach the arms: | |
| 14. 4 sc, 4 sc crocheting through both the stitches in Arm 1 and the body, 8 sc in the body only, 4 sc crocheting through both the stitches in Arm 2 and the body, 4 sc in the body only. | (24) |
| 15. Dec x 12 | (12) |
| 16. Inc x 12 | (24) |
| 17. 1 sc, inc x 12 | (36) |
| 18. 2 sc, inc x 12 | (48) |
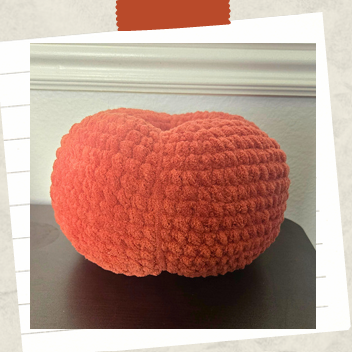
| 19-23. Sc around *Switch to black | (48) |
| 24. 6 sc, dec x 6 | (42) |
| 25. 5 sc, dec x 6 | (36) |
| 26. 4 sc, dec x 6 | (30) |
| 27. 3 sc, dec x 6 *Start stuffing the head. Continue to stuff as you close. | (24) |
| 28. 2 sc, dec x 6 | (18) |
| 29. 1 sc, dec x 6 | (12) |
| 30. Dec x 6 *FO, leaving a long tail. Using a yarn needle, pass the tail through each of the remaining 6 sts. Pull tight to close. Weave in end. | (6) |
Black-Haired Witchy Poppet Fun Fact:
While other witch poppets study spells, this one prefers recipes. She keeps a tiny enchanted cookbook hidden beneath her hat and believes every problem can be solved with soup, stew, or a suspiciously bubbling cauldron.
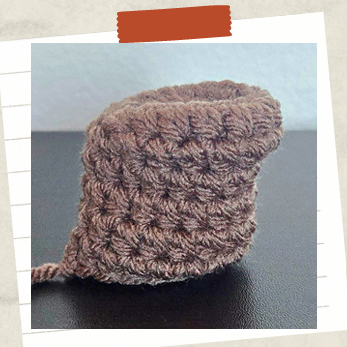
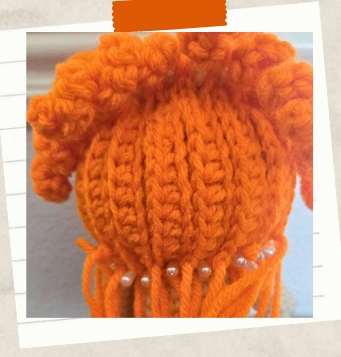
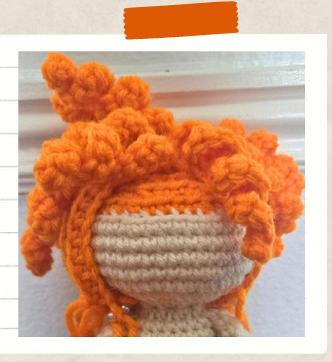
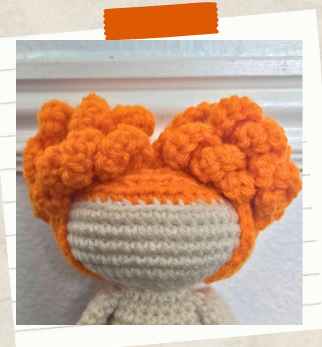
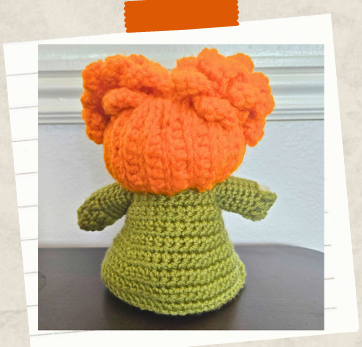
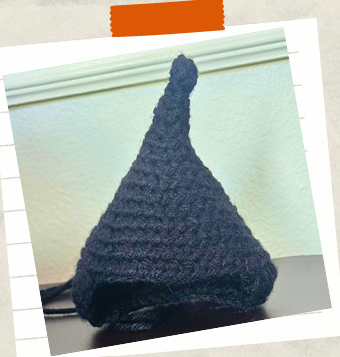
Hair
| With a 3.5 mm hook and worsted weight (#4) yarn in black: *Crochet all rounds in BLO unless otherwise specified. | |
| 1. BLO: MR 4 | (4) |
| 2. BLO: Sc around | (4) |
| 3. BLO: 1 sc, inc x 2 | (6) |
| 4. BLO: 2 sc, inc x 2 | (8) |
| 5. BLO: 3 sc, inc x 2 | (10) |
| 6. BLO: 1 sc, inc x 5 | (15) |
| 7. BLO: 4 sc, inc x 3 | (18) |
| 8. BLO: 2 sc, inc x 6 | (24) |
| 9. BLO: 3 sc, inc x 6 | (30) |
| 10. BLO: Sc around | (30) |
| 11. BLO: 4 sc, inc x 6 | (36) |
| 12. BLO: 5 sc, inc x 6 | (42) |
| 13. BLO: 6 sc, inc x 6 | (48) |
| 14-15. Sc around | (48) |
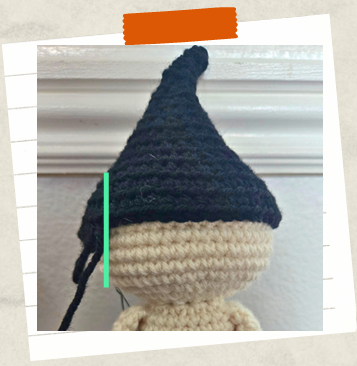
| *Put hair cap on before starting the next round. We will start working in rows to create the back of her hair. Sc as many stitches as needed to position yourself where you want the hairline to begin (imagine where the ears would be). | |
| Ch 1, turn. | |
| Row 1. FLO: Hdc dec, 34 hdc, dec, ch 1, turn | (36) |
| 2. BLO: Hdc dec, 30 hdc, hdc dec, ch 1, turn | (32) |
| 3. FLO: Hdc dec, [1 hdc, 1 hdc dec] x 10, hdc dec, ch 1, turn | (22) |
| 4. BLO: Hdc dec, [1 hdc, hdc dec] x 6, hdc dec | (14) |
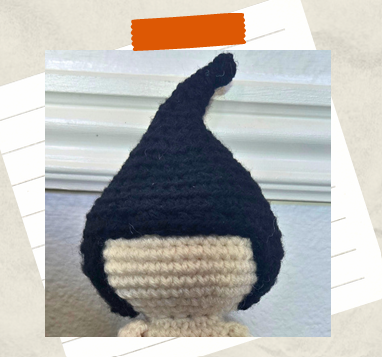
| *FO, leaving a long tail for sewing. *Stuff hair cap, place on doll, and sew in place. |
Black-Haired Witchy Poppet Fun Fact:
Though she often follows the loudest voice in the room, the orange-sleeved sister is fiercely loyal. Folklore says she once wandered through a haunted forest for seven nights searching for her sisters, guided only by instinct and her keen sense of smell!
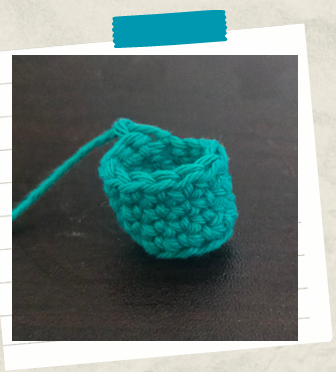
Skirt
| With a 3.5 mm hook and worsted weight (#4) yarn in maroon: | |
| 1. Ch 22, join to first stitch to create a circle. | (22) |
| 2. 10 sc, inc x 2 | (24) |
| 3. 3 sc, inc x 6 | (30) |
| 4. 4 sc, inc x 6 | (36) |
| 5-9. Sc around *FO, leaving a long tail for sewing. Sew to Rnd 10 of body. | (36) |
Black-Haired Witchy Poppet Fun Fact:
The orange-sleeved witch poppet claims she can smell trouble before it arrives. Most dismiss this as nonsense, until she suddenly stops smiling, points dramatically into the distance, and announces, “I smell children!”
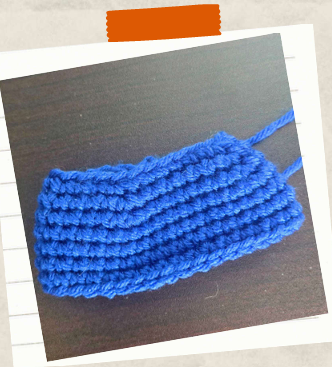
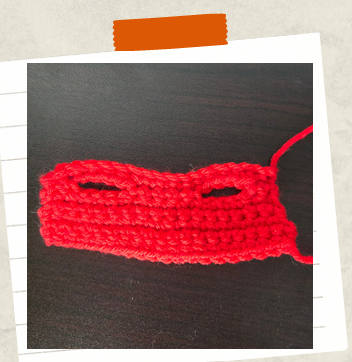
Top
| With a 3.5 mm hook and worsted weight (#4) yarn in red: | |
| 1. Ch 18, turn | (17) |
| 2. Sc across, ch 1, turn | (17) |
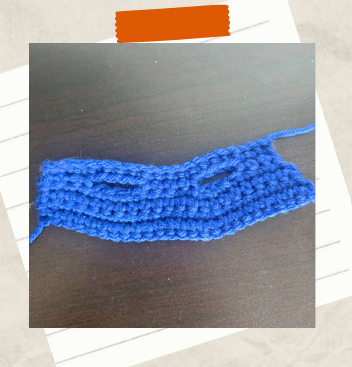
| 3. 2 sc, ch 4, skip 4, 5 sc, ch 4, skip 4, 2 sc, ch 1, turn | (17) |
| 4-5. Sc across | (17) |
| 6. 8 sc, inc, 7 sc, inc | (19) |
| 7-8. Sc across *FO, leaving a long tail for sewing. | (19) |
Sleeves
| With a 3.5 mm hook and worsted weight (#4) yarn in orange: | |
| 1. Attach to one of the ch stitches from Rnd 3 in the top with a standing sc. | |
| 2. Fit 10 sc stitches around the sleeve opening. | (10) |
| 3-9. Sc around | (10) |
| *FO. Weave in ends. |

Black-Haired Witchy Poppet Fun Fact:
Every autumn, villagers leave tiny cookies beside their fireplaces. According to poppet lore, the orange-sleeved witch travels from house to house collecting crumbs for her secret stash. In return, she leaves behind good luck for bakers and especially fluffy bread.
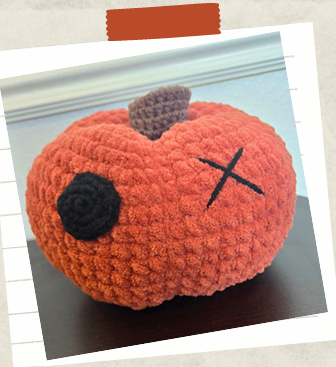
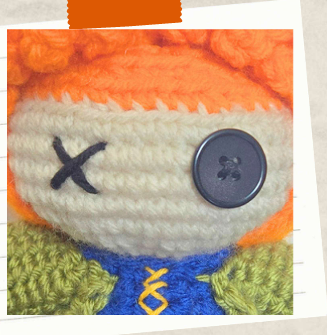
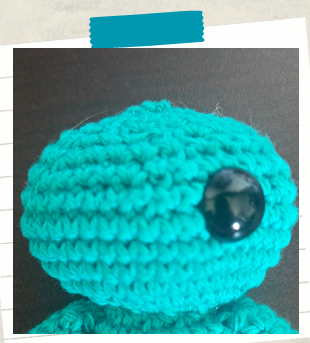
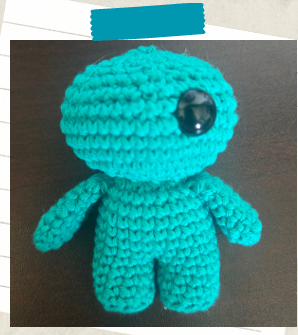
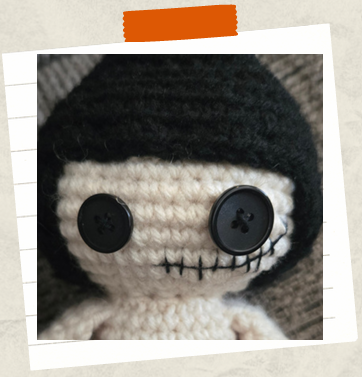
Eyes/Mouth
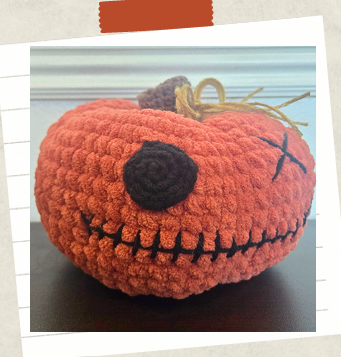
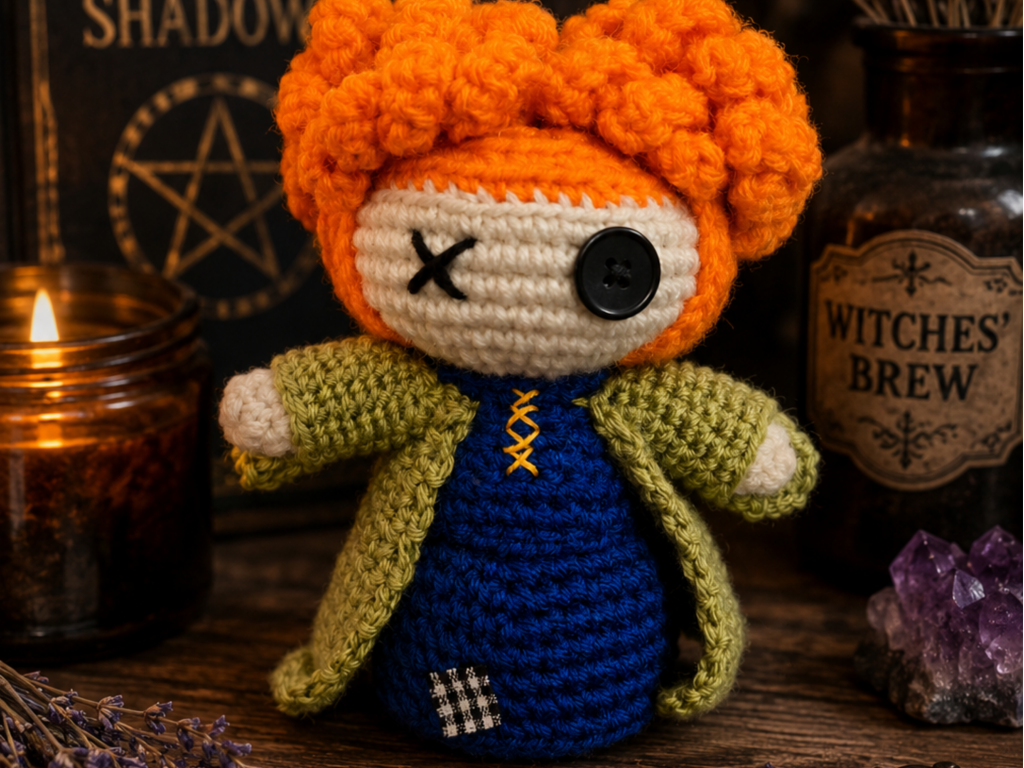
| With a sewing needle and black embroidery thread, sew your larger button approximately 2 rows down from the hairline and to the right of center. |
| Sew your smaller button about 4 stitches to the left of the first button, and one row below to create an offset, whimsical look. |
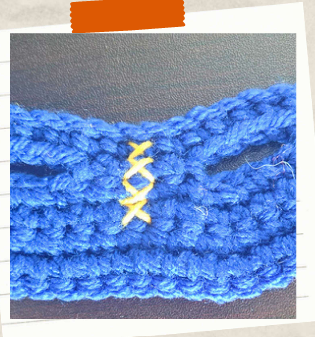
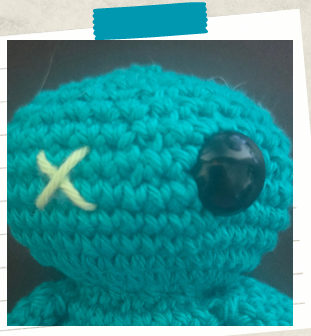
| Embroider a half smile across the face one row below the eyes. Then, add some vertical stitches along the smile line (See photo). |
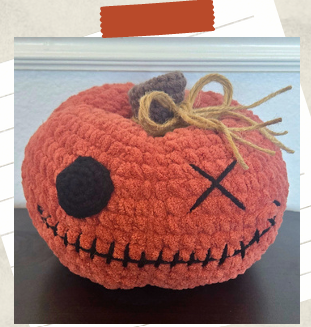
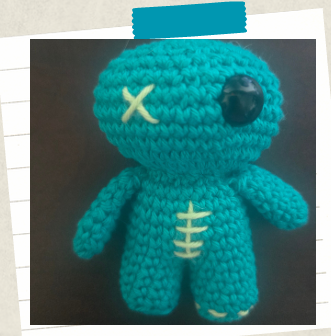
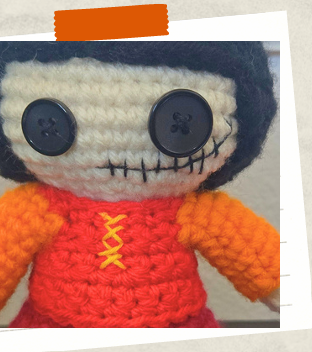
Finishing Touches
| To finish up your Black-Haired Sister Witch Crochet Poppet: |
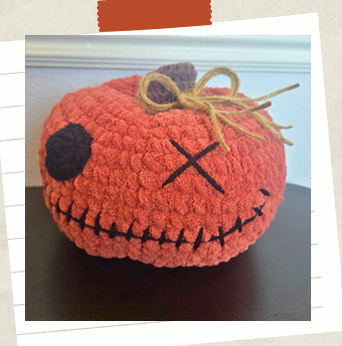
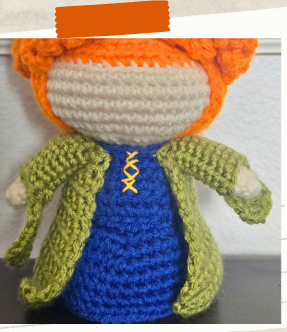
| With yellow embroidery thread, embroider some “X” stitches down the center of the top. |
| Put top on and sew up the back. |
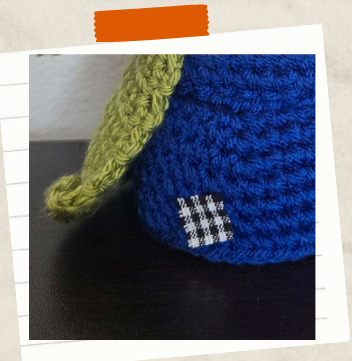
| If you’d like, try customizing her with scraps of fabric patches or embroidering more decorative stitching onto her. |
| And that’s its! Your Black-Haired Sister Witch is complete! |
Complete the Set by Crocheting Her Sisters Too!
Click the links below to crochet the whole witchy set!
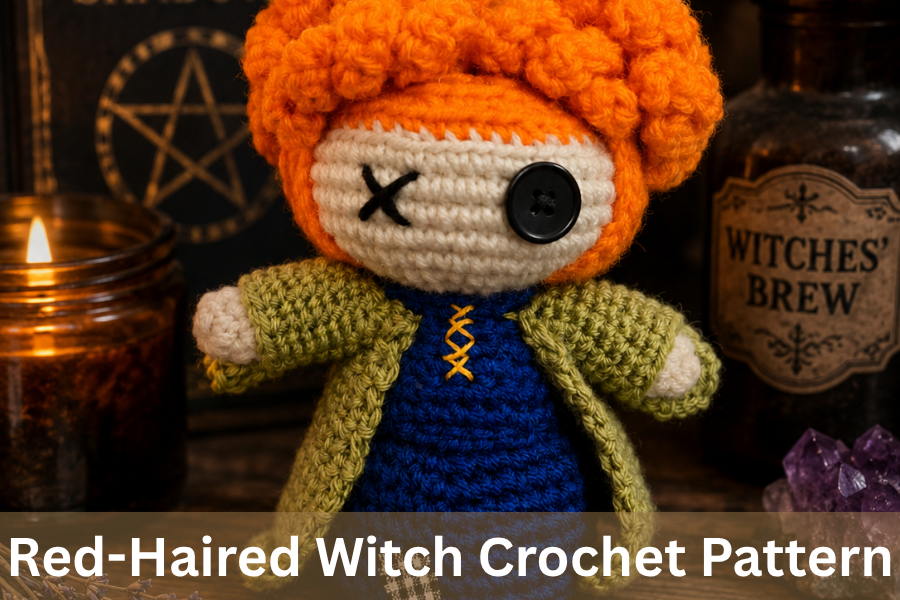
The Flame-Haired Enchantress: Free Red-Haired Witch Crochet Pattern
More Halloween Crochet Patterns You’ll Love
If you enjoyed this free witch crochet pattern, you may also love:
- Free Toadstool Crochet Pattern for a Spooky Cute Toadstool Poppet
- Hauntingly Adorable! Your FREE Crochet Halloween Ghost Pattern
- Spooktacular Stitches: 20 Free Crochet Halloween Decorations!
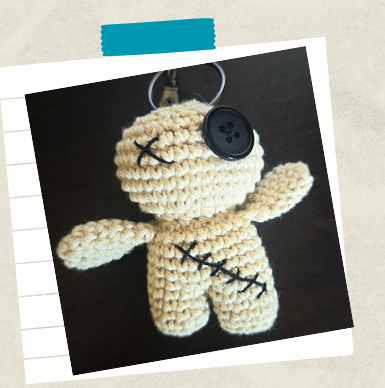
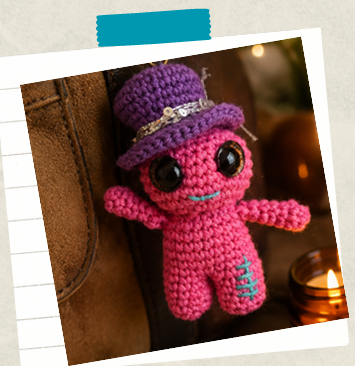
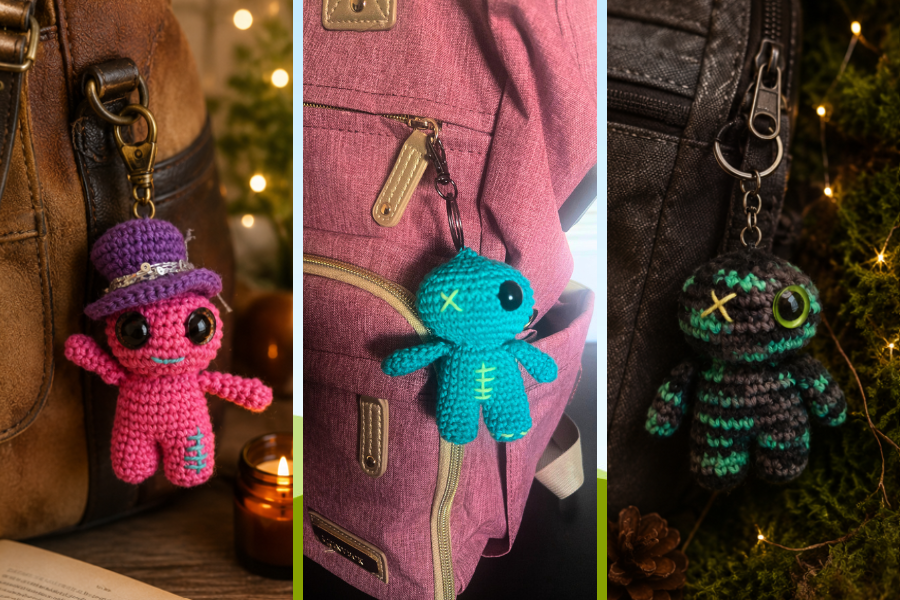
- Voodoo Doll Crochet Pattern
Frequently Asked Questions
Is this witch crochet pattern beginner friendly?
Yes! This pattern uses basic crochet stitches and has minimal sewing involved. If you can crochet in the round and perform basic embroidery stitches, you can create this cute little witch.
Can I sell finished items?
You may sell finished items made from this pattern. However, please do not copy, redistribute, or sell the pattern itself and credit my design wherever possible.
What size is the finished witch?
The finished witch doll stands approximately 8 inches in height. However, the finished size will depend on the yarn and hook size used.
Can I use plush yarn?
Absolutely! Plush yarn creates a larger, extra soft and cuddly version of this spunky witch.
Final Thoughts
This free black-haired witch crochet pattern is a fun way to celebrate spooky season while creating something uniquely handmade. Whether displayed on a shelf, gifted to a fellow Halloween lover, or added to your growing collection of witchy decor or poppets, this charming little poppet is ready to bring a bit of magic to your crochet projects.
Which witch will you crochet first? Let me know in the comments below!
And stay cozy,
This post includes a free black-haired witch crochet pattern.
Free Black-Haired Witch Crochet Pattern (Perfect for Halloween!) Read Post »