Rustic Crochet Toilet Paper Cover: Free Pattern!
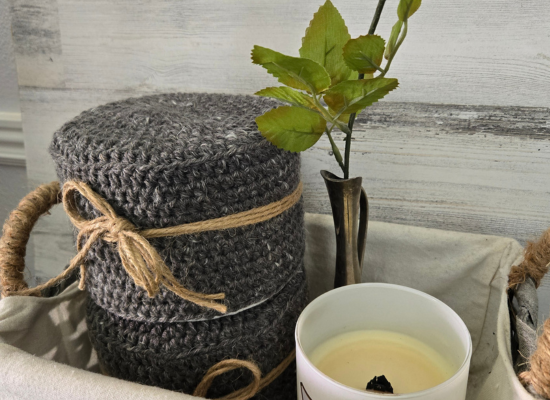
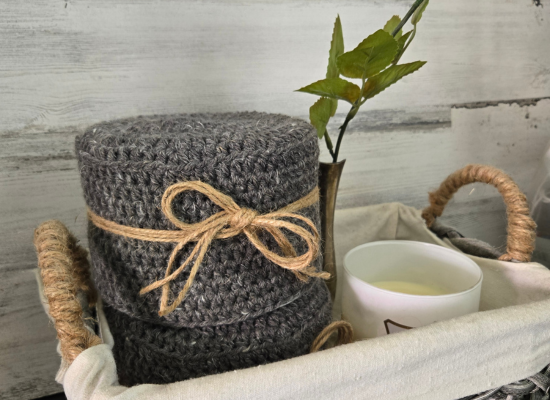
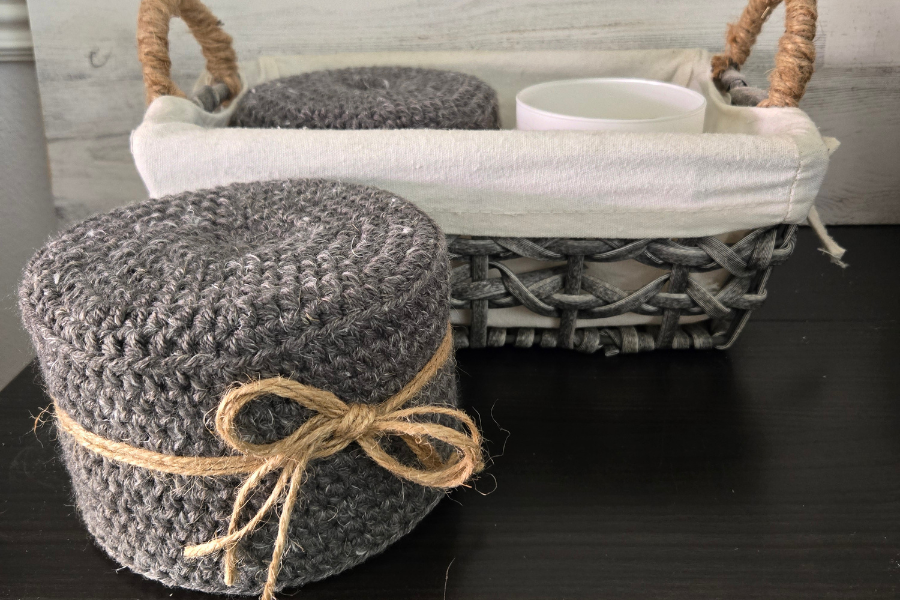
Back in the day, it seemed that everyone and their grandmother had a crochet toilet paper holder. While you don’t see them much these days, they can still bring a coziness to your bathroom! Elevate your bathroom decor with this rustic crochet toilet paper cover pattern.
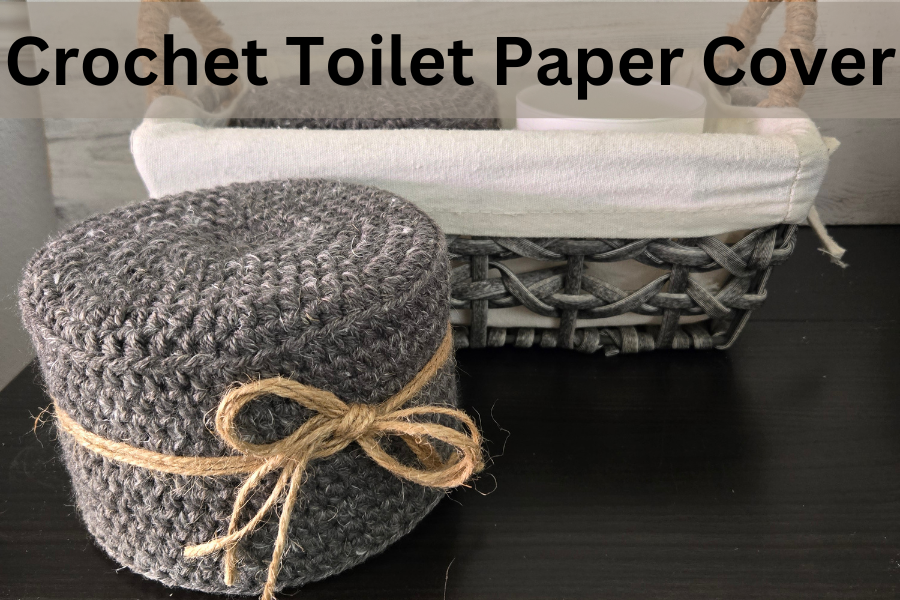
I love the touch of farmhouse coziness this simple crochet toilet paper cover brings to the bathroom! This simple yet stylish project is the perfect way to add a handmade accent to your decor. It’s the little things that bring such warmth and coziness to our lives. As they say, life is lived in the details! Read on for the free crochet pattern.
Happy wishes and cozy stitches!
My free patterns and pictures are for PERSONAL USE only. Please do not share, distribute, reproduce, publish, translate, alter, or resell this pattern in any way. Feel free to share or sell the finished product as long as you credit my design. Please share photos of your design with me by tagging me here on Instagram if you’d like; I love to see them!
Now, let’s get started!
This post is for a crochet toilet paper cover.
Rustic Crochet Toilet Paper Cover: Free Pattern!
Supplies You Will Need:
- Crochet hook: 5 mm
- Worsted weight yarn in any color(s) you choose
- Yarn needle
- Stitch marker
- Scissors
- Twine
- Fabric glue (optional)
Crochet Abbreviations:
- MR- Magic Ring
- Inc- Increase
- Dec- Decrease
- Ch- Chain
- Sc- Single Crochet
- St(s)- Stitch(es)
- Sl st- Slip Stitch
- FO- Fasten Off
- BLO- Back Loop Only
- HDC- Half Double Crochet
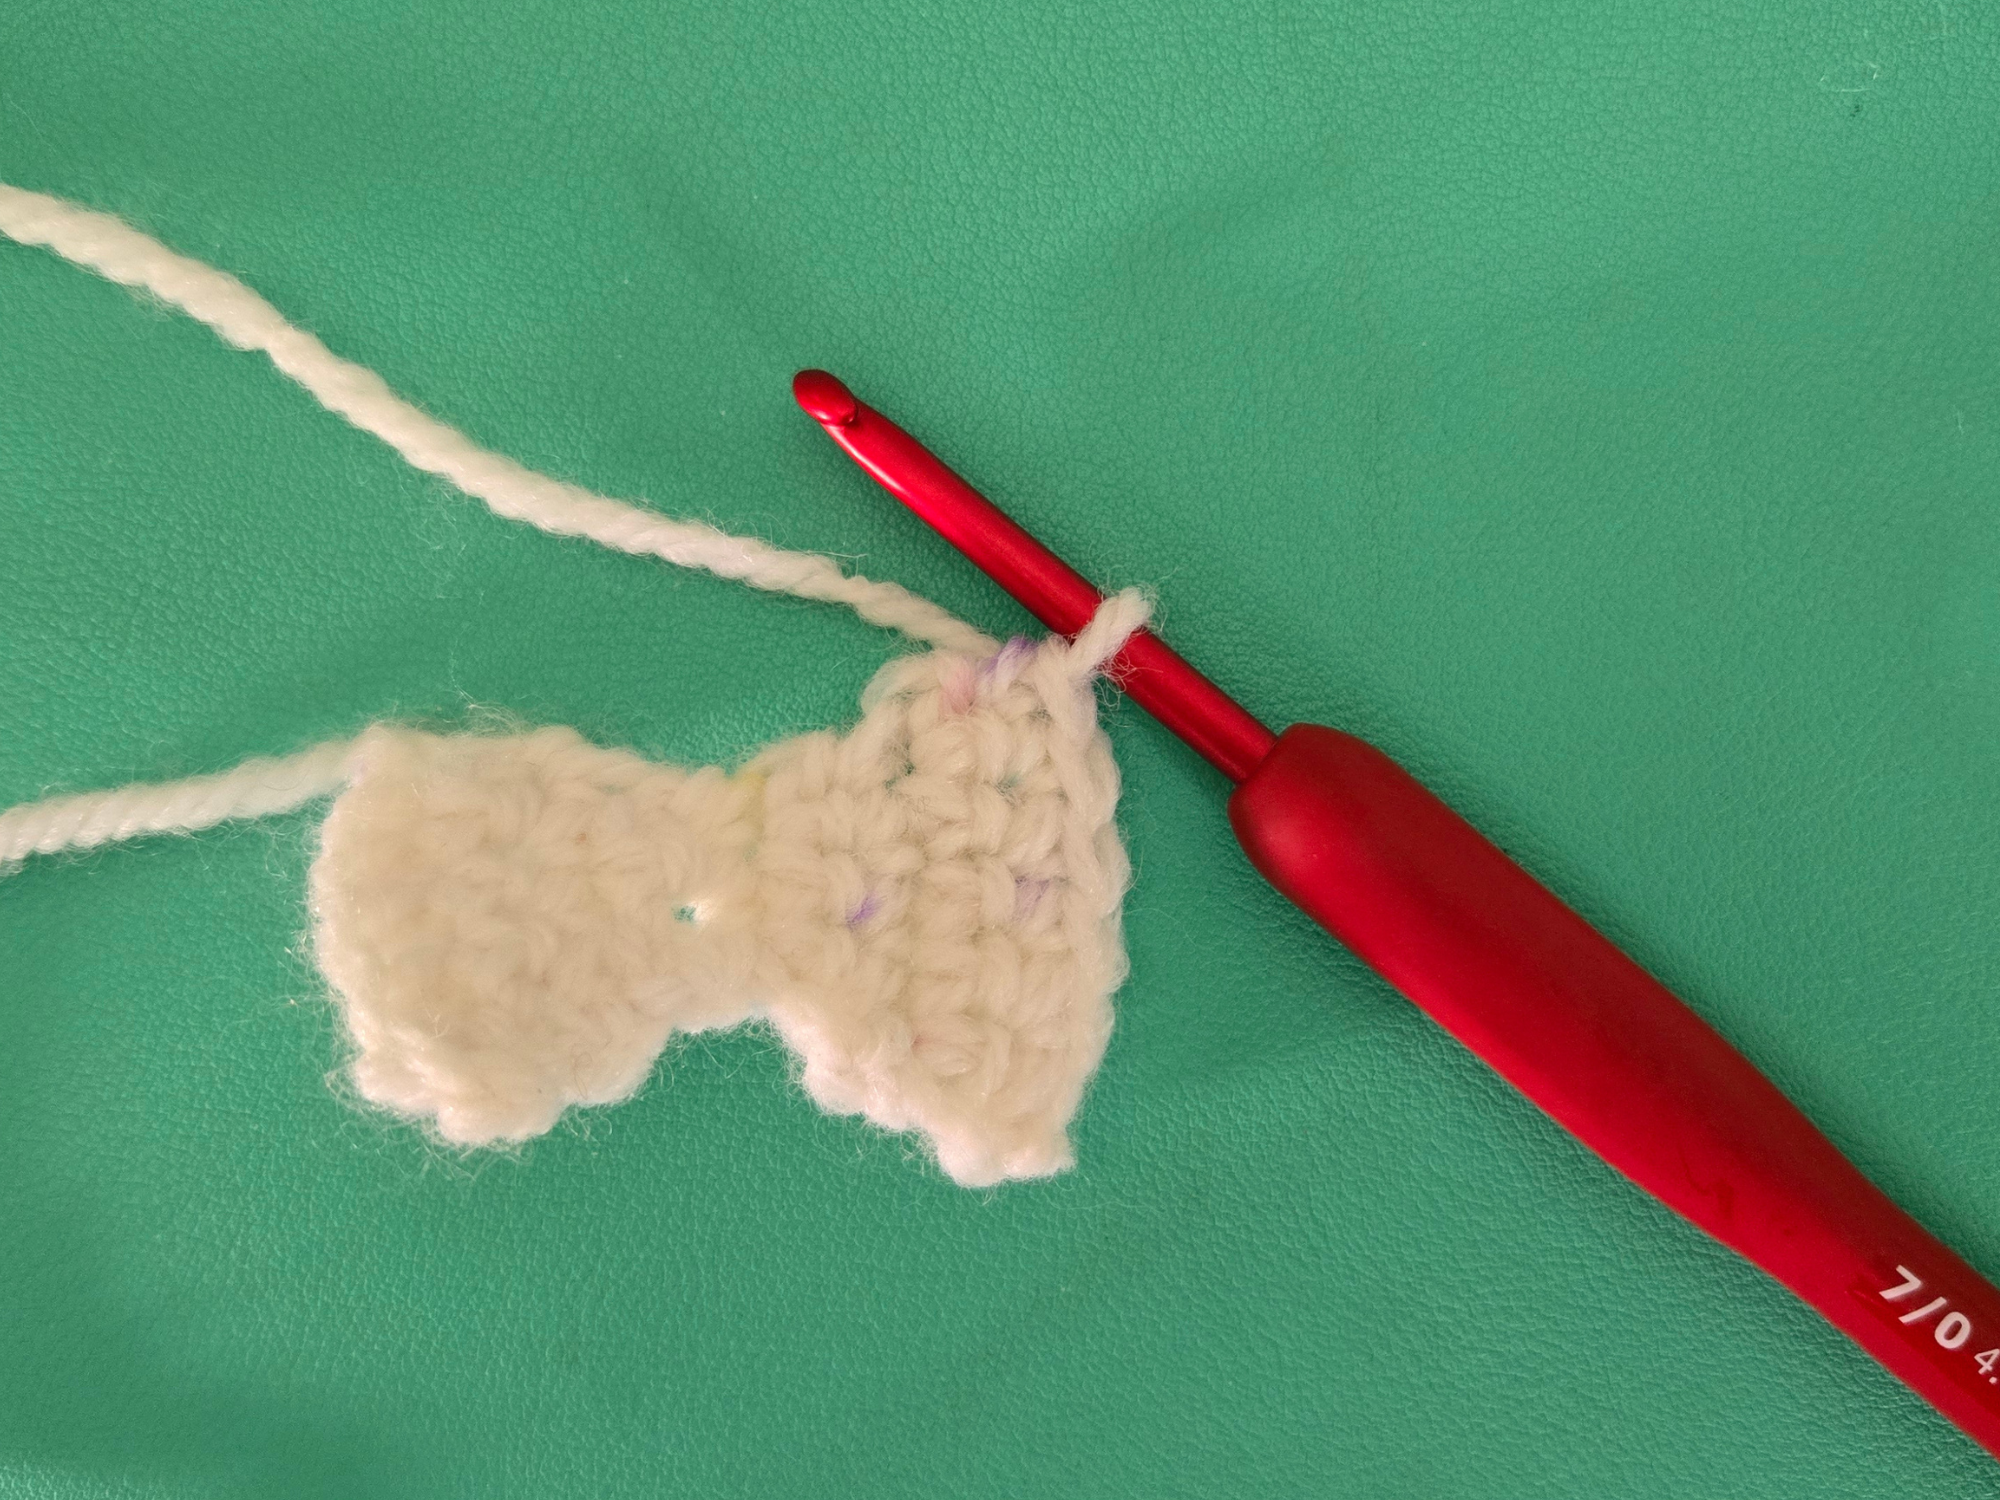
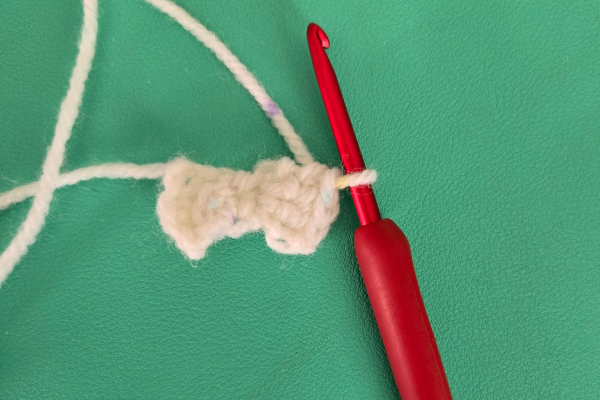
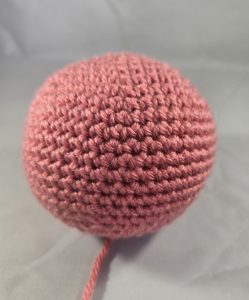
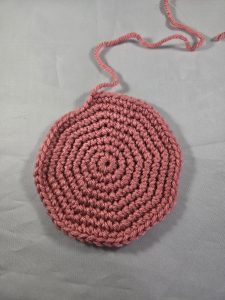
***The entire pattern is worked in HDC stitches.***
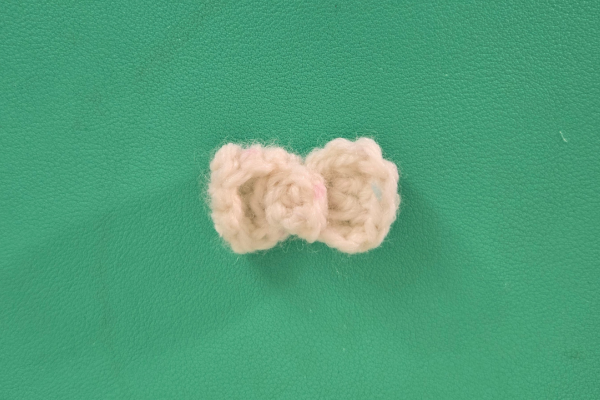
Crochet Toilet Paper Cover:
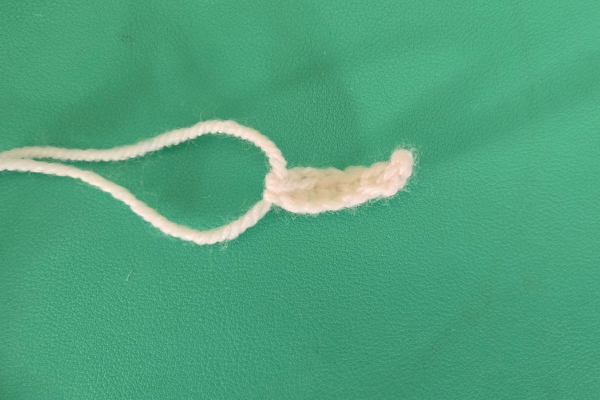
- MR hdc 8 (8)
- Inc hdc x 8 (16)
- 1 hdc, 1 inc x 8 (24)
- 2 hdc, 1 inc x 8 (32)
- 3 hdc, 1 inc x 8 (40)
- 4 hdc, 1 inc x 8 (48)
- 5 hdc, 1 inc x 8 (56)
- 6 hdc, 1 inc x 8 (64)
* Please Note*
This pattern was designed using a double roll size of toilet paper. For smaller or bigger rolls, your pattern may be a little bit different. Basically, keep increasing your magic ring until the circle fits to the edges of the toilet paper roll when placed on top of the roll.
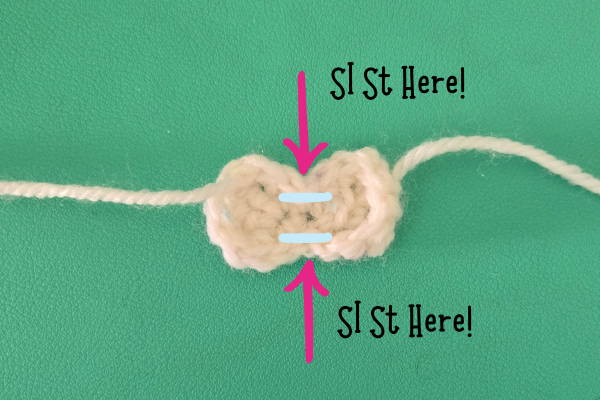
Then, proceed to Round 9 below:
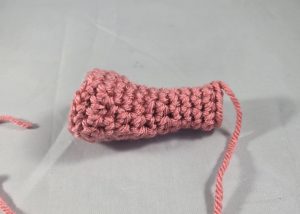
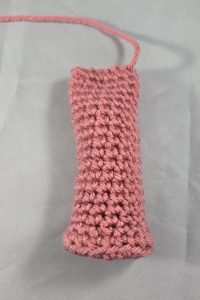
9. BLO hdc around (64)
10- 16. Hdc around (64)
You can make this section as long or as short as you need for your toilet paper roll. Once your rows reach the bottom of the toilet paper roll, you can fasten off and weave in the ends.
Finishing Up:
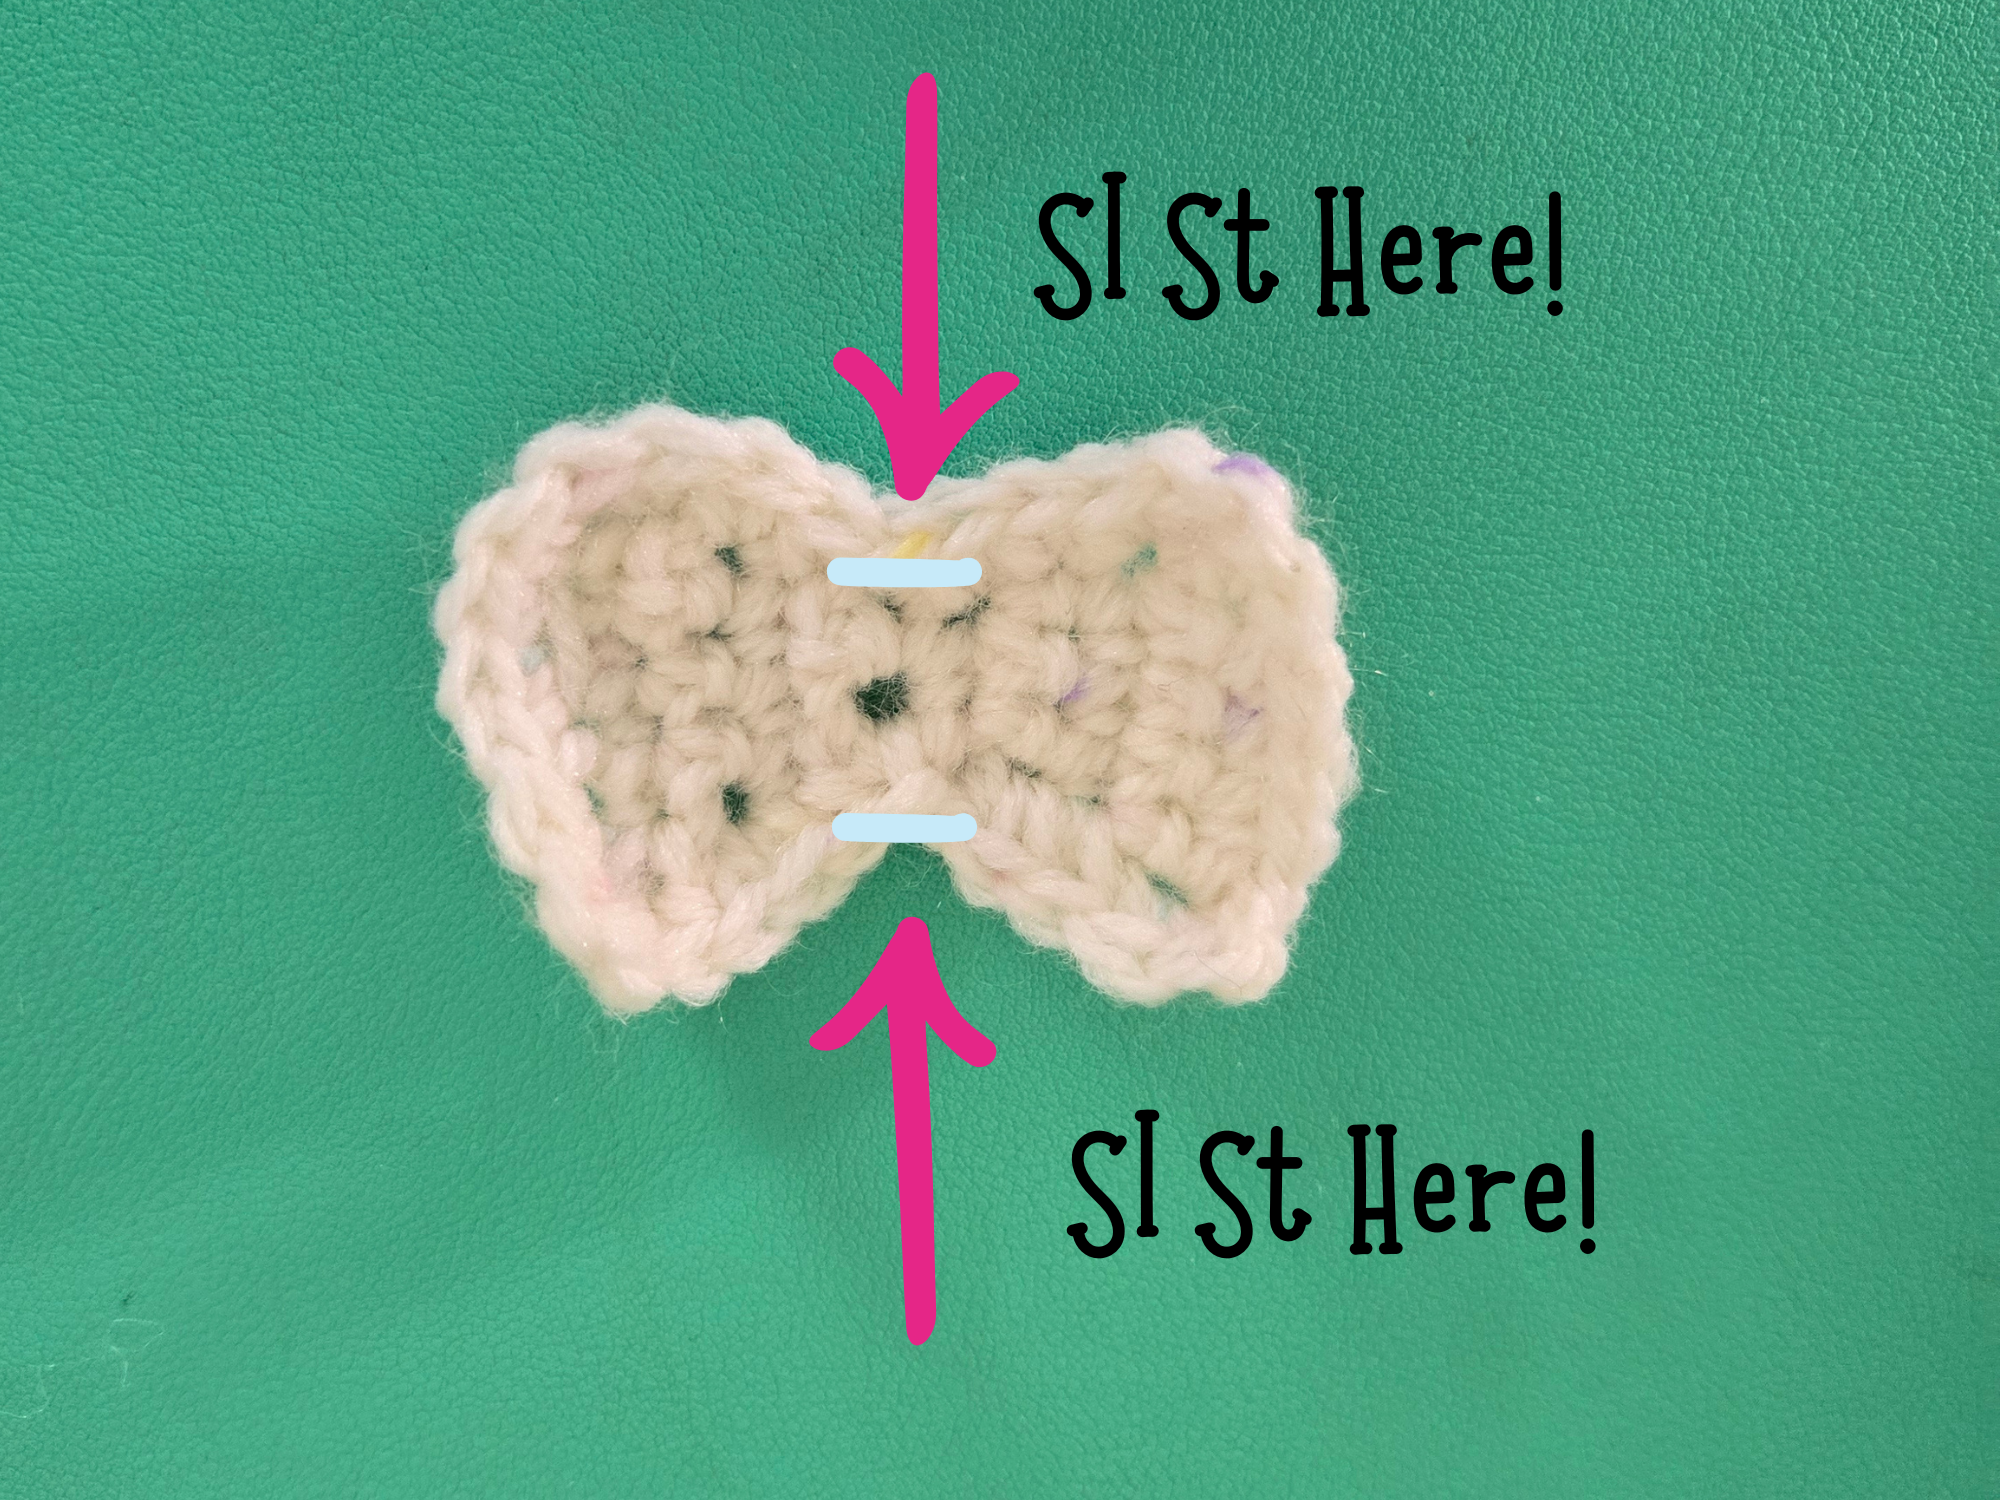
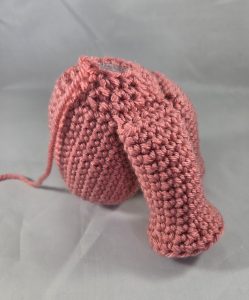
- Place the toilet paper cover over the toilet roll. Measure a length of twine that is long enough to wrap around the toilet roll twice (or more if you want longer tails).
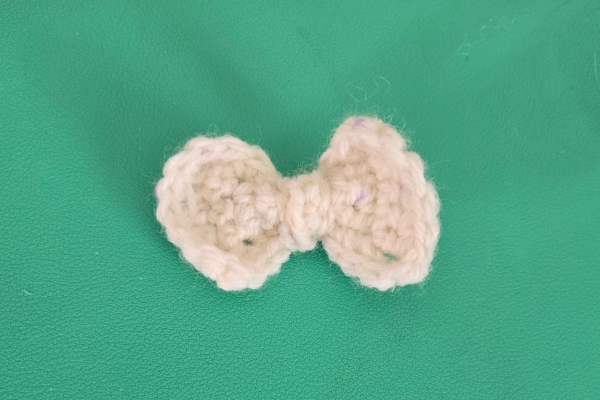
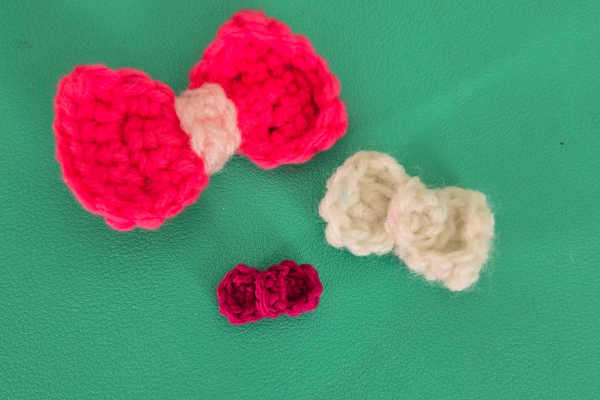
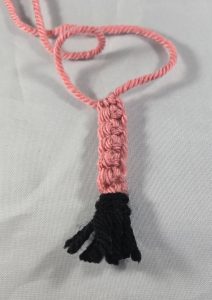
- Cut as many strands as you want to create a thick, farmhouse style bow. I cut three separate strands.
- Now, using all strands at the same time, wrap around the toilet paper cover and tie into a bow. It takes some fiddling to get the bow exactly how you want it.
- When you are happy with the bow and placement, you can secure the bow to the toilet paper cover by placing a dab of fabric glue on the knot of the bow and gluing it in place.

And that’s it!
I hope you’ve enjoyed today’s free crochet pattern for a toilet paper cover! The possibilities are endless for colors and designs to match any style and any bathroom. Have you made one of these for your bathroom? Share below!
And stay cozy,

This post was for a free crochet toilet paper cover pattern.
Rustic Crochet Toilet Paper Cover: Free Pattern! Read Post »