Free Crochet Towel Holder Pattern!
There is something so comforting and cozy about being able to make things for our homes. With just a ball of yarn and a hook, the possibilities of kitschy, charming touches to our homes are positively endless. Today, I’ve made a crochet towel holder.
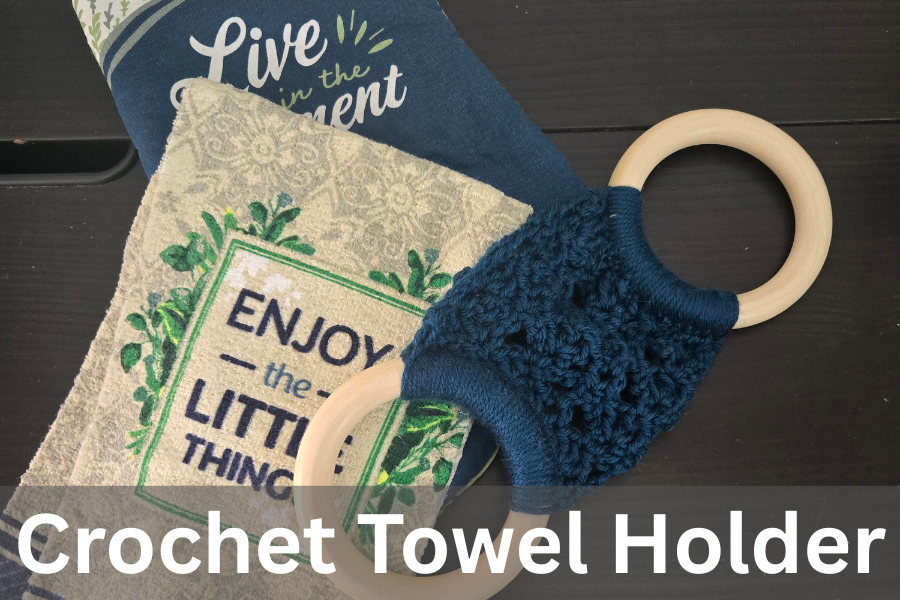
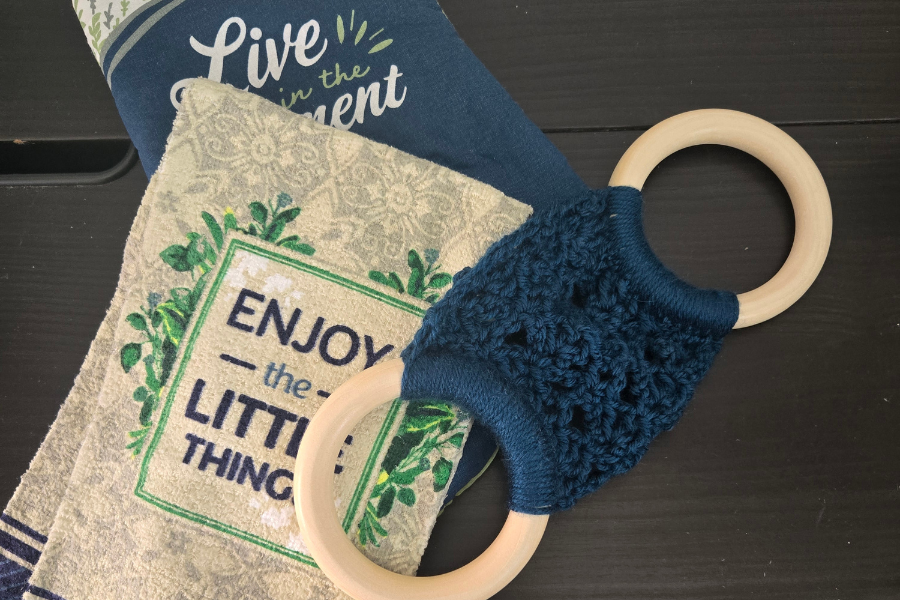
This crochet towel holder incorporates the beautiful open shell and picot stitch to create the towel holder. I love any stitch that has a more open, lacy weave, and I can’t wait to share this pattern with you!
This pattern works up quickly, making it the perfect project to add a quick, homey touch to your kitchen or for gift giving, and I just love the comfy, cozy feel it brings to the kitchen.
Happy wishes and cozy stitches!
My patterns and pictures are for PERSONAL USE only. Please do not share, distribute, reproduce, publish, translate, alter, or resell this pattern in any way. Feel free to share or sell the finished product as long as you credit my design. Please share photos of your design with me by tagging me here on Instagram if you’d like. I love to see them!
Now, let’s get started!
This post is for a free crochet towel holder pattern.
Free Crochet Towel Holder Pattern
Supplies You Will Need:
- Crochet hook: 5.00 mm
- Worsted weight yarn in any color(s) you choose
- 4 ” wooden rings (I found mine on Amazon)
- Yarn needle
- Stitch marker
- Scissors
Crochet Abbreviations:
- Inc- Increase
- Dec- Decrease
- Ch- Chain
- Sc- Single Crochet
- St(s)- Stitch(es)
- Sl st- Slip Stitch
- FO- Fasten Off
- Dc- Double Crochet
- Tr- Treble Crochet
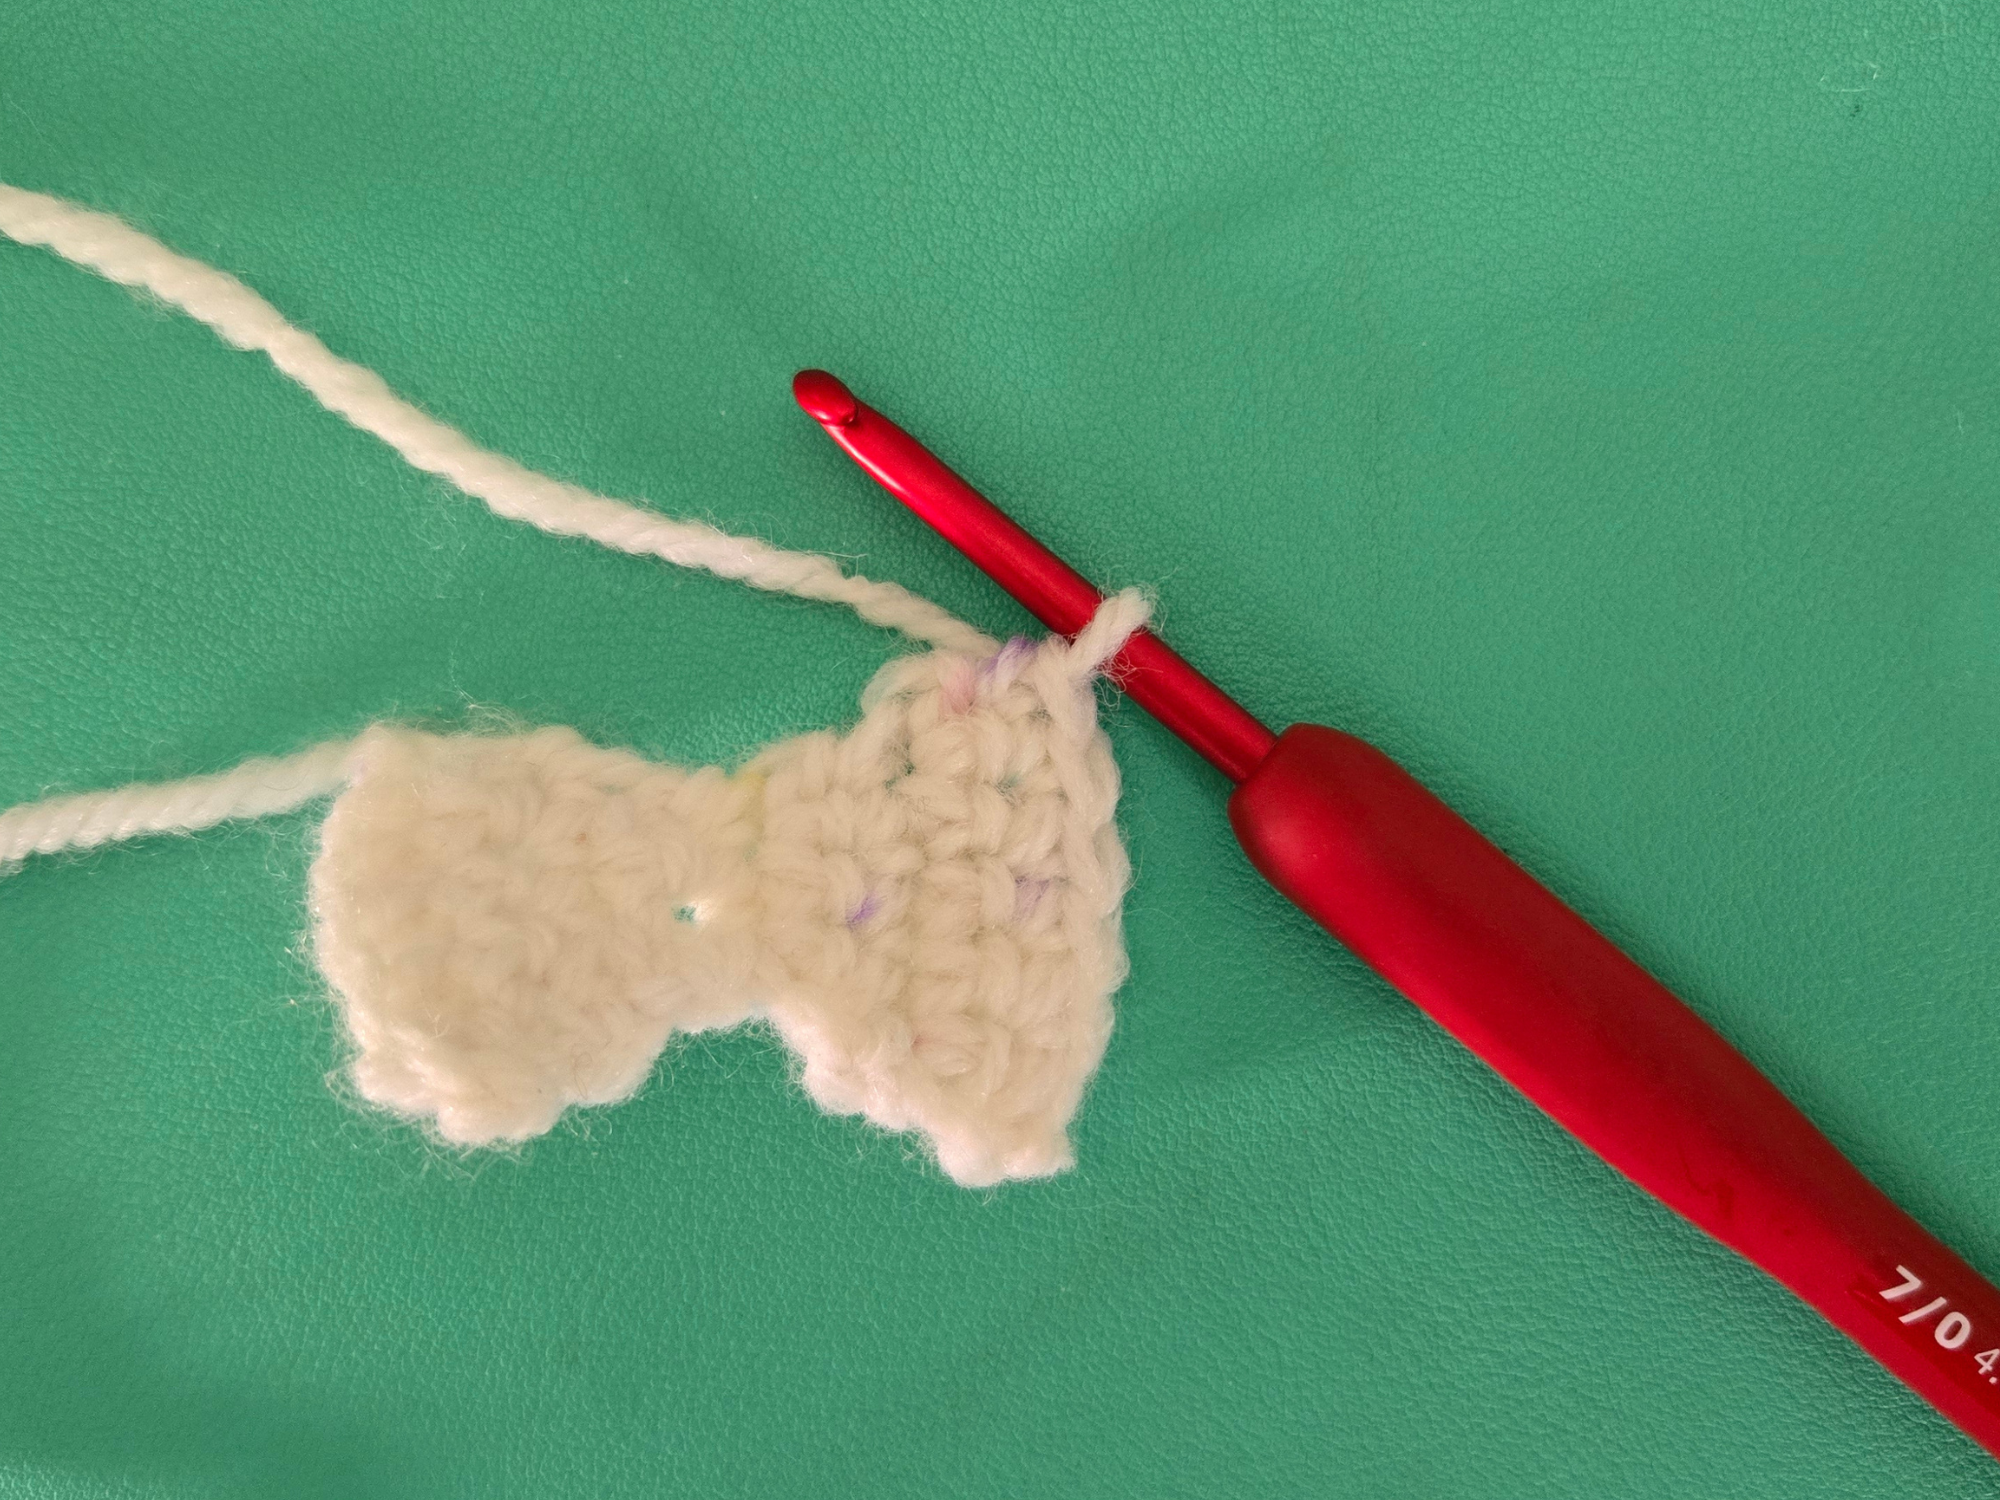
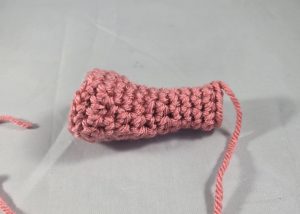
Towel Holder
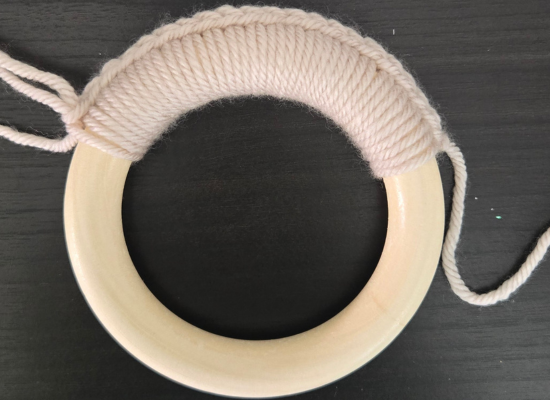
1. Sc 21 stitches around the wooden ring. Ch 1 and turn.
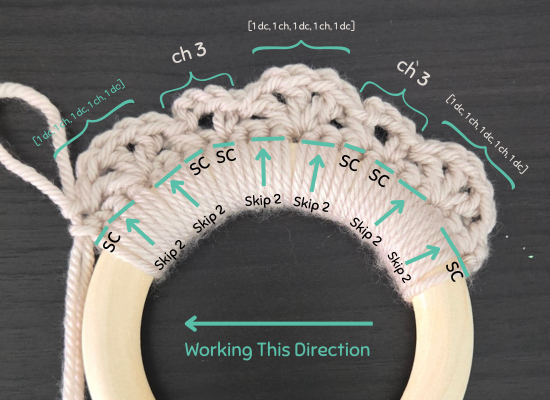
2. Sc in first stitch, *skip 2 sc, [1 dc, ch 1, 1 dc, ch 1, 1 dc] in next sc, skip 2 sc, 1 sc in next st, ch 3, 1 sc in next st**.
Repeat from * to ** one more time, then: skip 2 sc, [1 dc, ch 1, 1 dc, ch 1, 1 dc] in next st, skip 2 sc, sc in last stitch, turn
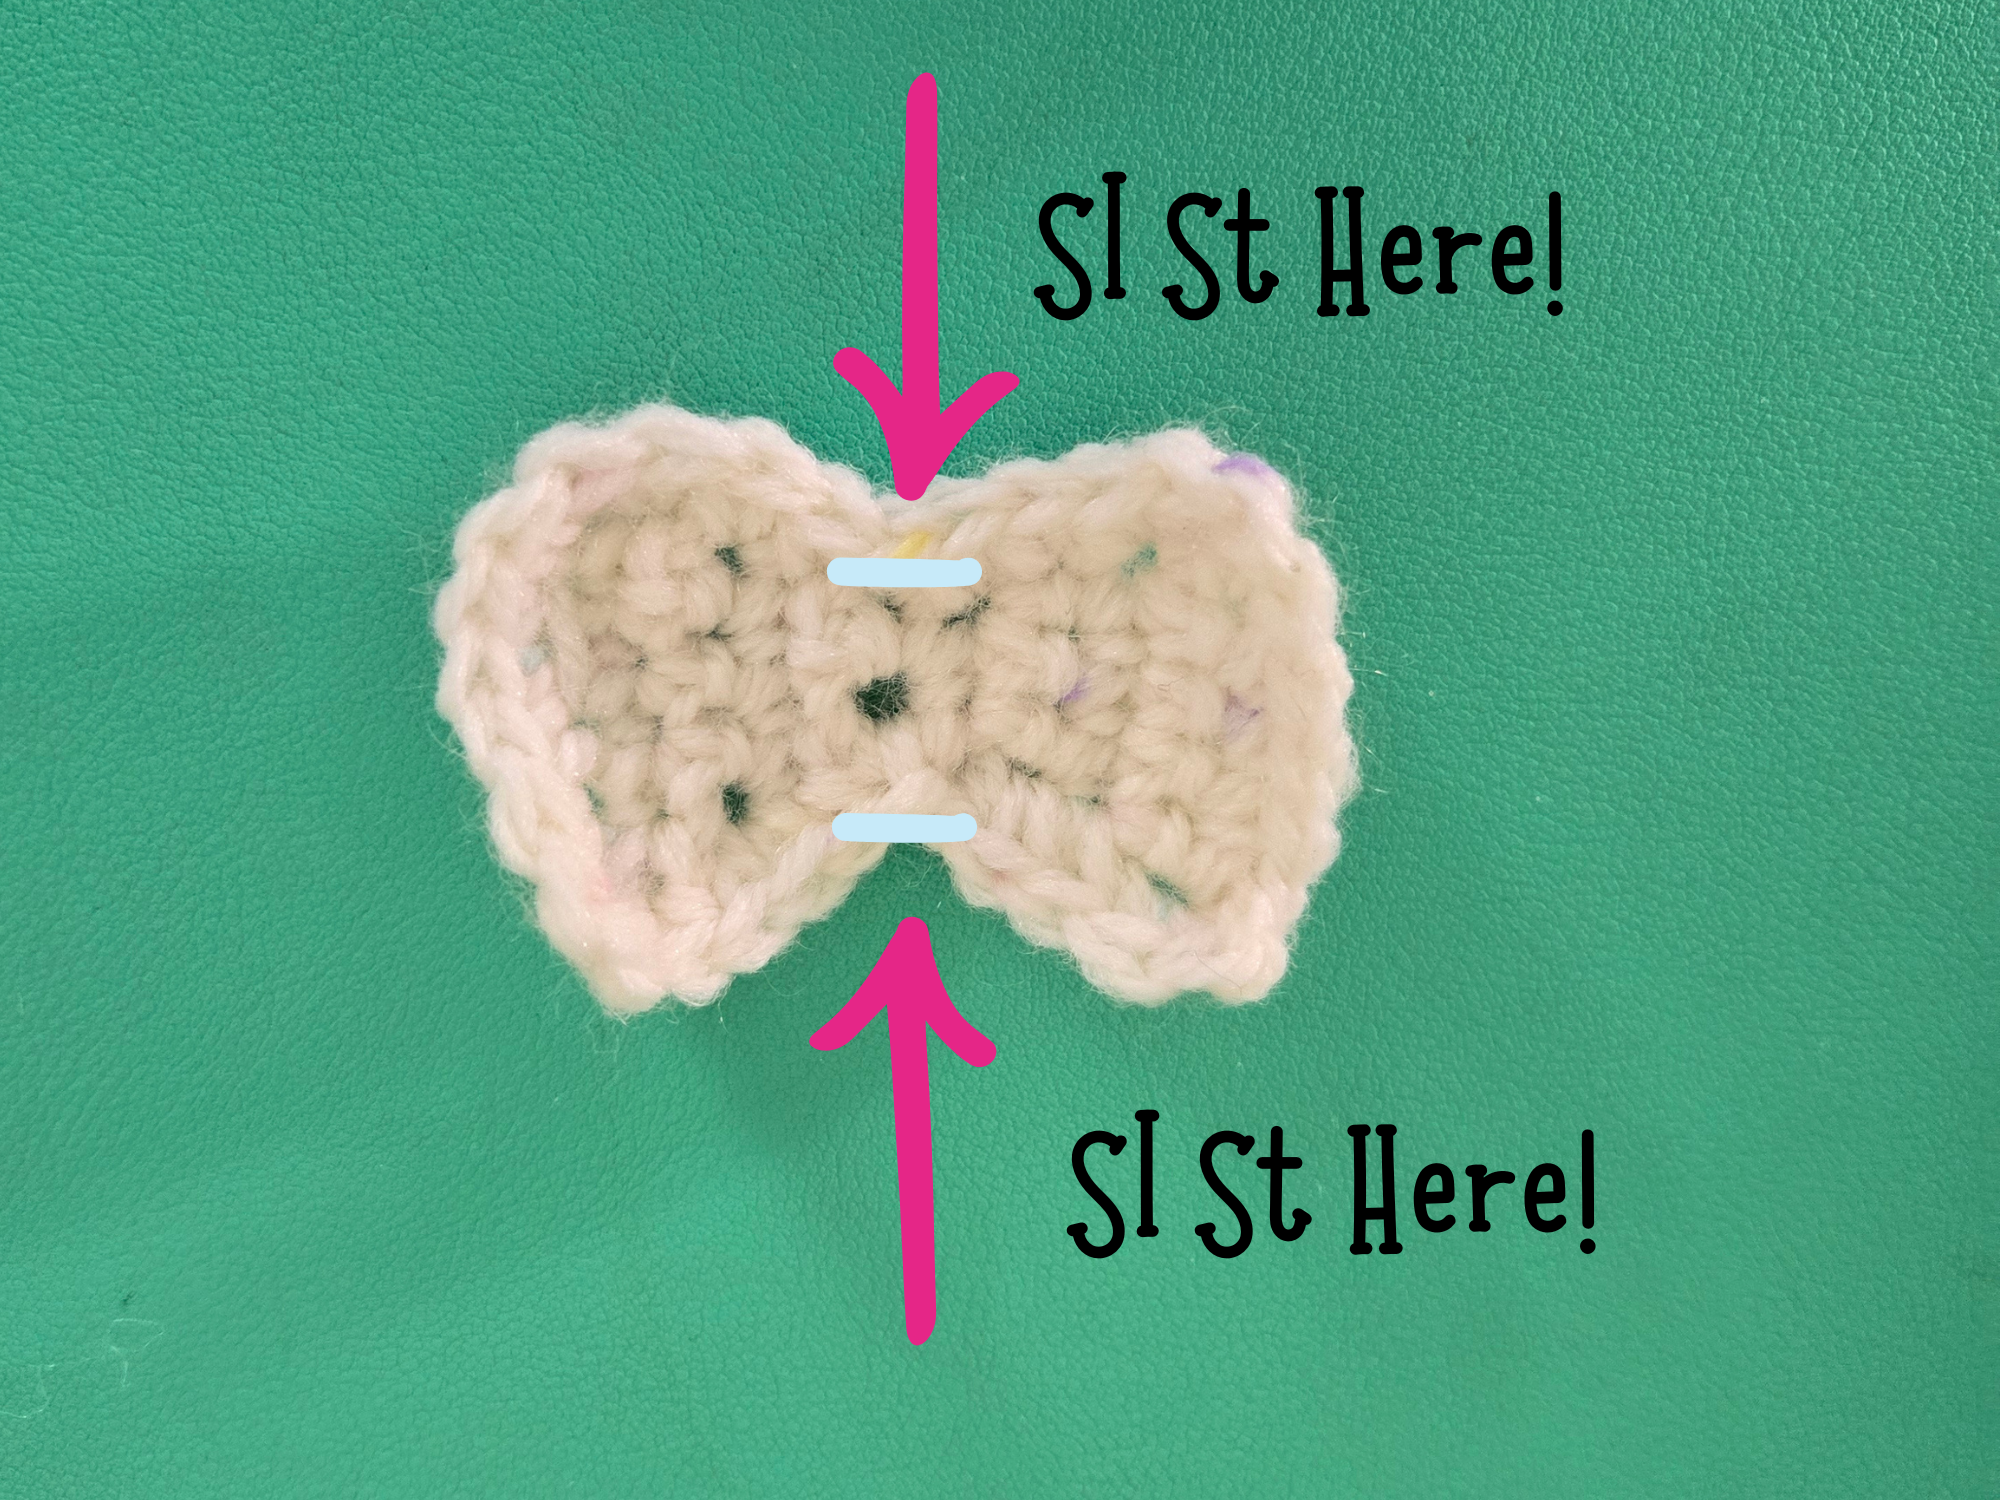
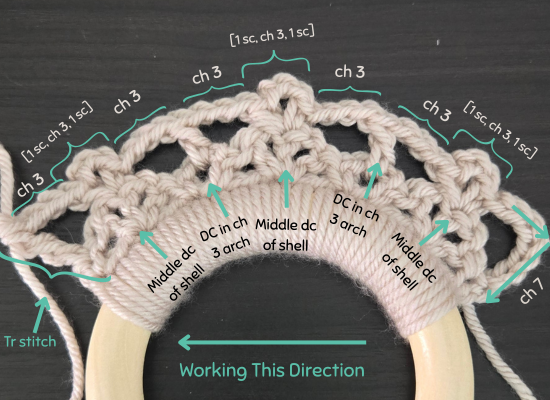
3. Ch 7 (this will count as a tr and 3 ch), *[1sc, ch 3, 1 sc] in middle dc of shell (this is one picot stitch), ch 3, 1 dc in next ch 3 arch, ch 3**.
Repeat from * to ** once more, then: [1 sc, ch 3, 1 sc] (picot) in middle dc of next shell, ch 3, skip next dc, tr in last stitch, turn
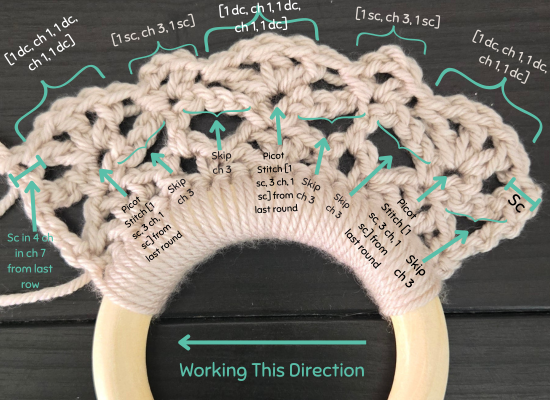
4. Ch 1, 1 sc in tr, *skip next ch 3 space, [1dc, ch 1, 1 dc, ch 1, 1 dc] in center of next picot stitch, skip next ch 3 space, [1 sc, ch 3, 1 sc] (picot) in next dc**
Repeat from * to ** once more, then: skip next ch 3 space, [1 dc, ch 1, 1 dc, ch 1, 1 dc] in next picot stitch, sc in 4th ch of the ch 7, turn
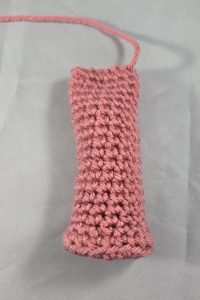
Basically, we are now going to repeat Row 3 and 4 until we reach the desired length. This stitch seems more confusing than it is, I promise! Once you grasp these two steps, you will master this stitch in no time.
5. Repeat Row 3
6. Repeat Row 4
7. Repeat Row 3
8. Repeat Row 4
You can make the length as long or as short as you like. If you’d like to make your towel holder longer, continue alternating repeat rows of 3 and 4 until you reach the desired length. Be sure to end on a “Row 4” repeat to keep the finished folded length even.
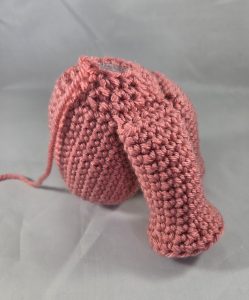
Finishing Up:
Now, we just need to sew the other end of our crochet towel holder to the second wooden ring!
- Cut a length of yarn that is at least 30 inches in length and pull the last stitch of the last round through to secure.
- With a yarn needle, wrap the yarn around the wooden ring, and pass it through each stitch along the last row. Keep the stitches around the ring tidy and pulled tightly as you work.
- Weave in all loose ends
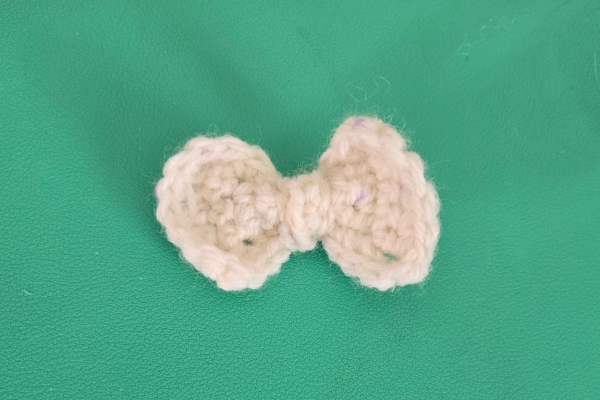
And there we have it! A super simple, super customizable and versatile crochet towel holder! Wrap it around your fridge handle, your oven, a towel rack, or whatever!
I love the lacy, cottage look of the open shell and picot stitch, and I love the touch it brings to my kitchen. I’ll definitely be making some of these as gifts as well!
What about you? Have you made one of these crochet towel holders? Share below!
And stay cozy,

This post was for a free crochet towel holder pattern.
Check out my related posts below for more crochet home decor!
Related Posts
Free Crochet Towel Holder Pattern! Read Post »